The Best Meal Prep Containers: Right-Sizing Your Meal Prep Containers for Portions, Budget & Environmental Impact (Part 2)
Introduction
Here’s something most meal prep guides won’t tell you: the size of the container matters more than the brand.
When I started meal prepping, I bought whatever containers looked good on sale. Big mistake. I ended up with containers too large for single portions (hello, overeating), too small for batch cooking (frustrating), and way too many sizes I never actually used (wasted money and cabinet space).
Then I learned something that changed everything: the best meal prep containers control your portions, match your actual needs, and determine whether you’ll stick with meal prepping in the long term. A 2-cup container naturally creates a balanced meal portion. A 4-cup container works perfectly for batch cooking Sunday dinners. And those tiny 1-cup containers? Game-changers for portion-controlled snacks.
But size is only part of the equation. Your budget determines how you build your container collection over time—and making smart choices here can save you hundreds of dollars. And if you care about the environment like I do, the containers you choose either contribute to waste or significantly help reduce it.
So you’ve read about all the different meal prep container options out there—glass, plastic, OXO, Rubbermaid, Pyrex, Stasher bags—and now you’re thinking, “Okay, but which ones do I actually need?”
Here’s the truth: there’s no single “best” container that works for everyone. The right containers for you depend on your lifestyle, budget, storage space, and what you’re actually prepping. Someone who walks to work needs completely different containers than someone who meal preps at home. A tight budget necessitates a different strategy than one with unlimited funds.
In Part 1 (https://kelliannscheibe.com/best-meal-prep-containers-guide), I walked you through the best meal prep container options available. Now, in Part 2, we’re getting practical. I’m going to help you figure out exactly which containers you need, based on your life—not some generic recommendation that doesn’t fit your reality.
We’ll work through simple questions that reveal what actually matters for your situation, avoid the expensive mistakes I made, and build a starter kit that makes sense for your budget. By the end of this guide, you’ll know exactly what to buy instead of guessing and wasting money on containers you’ll never use.
Let’s figure this out together.
This article contains affiliate links. If you purchase products through these links, I may earn a small commission at no additional cost to you. These commissions help support this website and allow me to continue creating detailed, honest content. I only recommend products I’ve personally used or thoroughly researched. Your support is greatly appreciated and helps keep this resource free for everyone.
How to Choose the Right Meal Prep Containers for You
Feeling overwhelmed? Let’s break this down with some simple questions.
Ask Yourself These Questions:
What are you actually prepping?
- Soups and sauces need leakproof containers with tight seals
- Salads need containers that keep things fresh without wilting
- Dry foods like grains can use simpler storage
- Batch-cooked casseroles need oven-safe glass
Where will you eat?
- Long commute or walk? Avoid heavy glass
- Prepping meals to eat at home? Glass containers work great
- Need to reheat in an office microwave? Make sure lids are microwave-safe
- Packing lunch for work every day? Get lightweight, durable containers
What’s your budget?
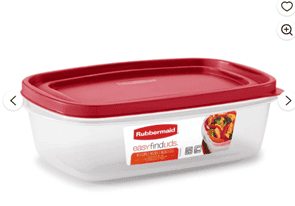
- Under $50: Start with Rubbermaid Easy Find
- 50-$100: Mix of Rubbermaid and OXO
- $100-$200: Add Pyrex glass and some Stasher bags
- $200+: Go all-in with premium options
Do you have storage space?
- Small kitchen? Containers that stack and nest will save your sanity
- Limited cabinet space? Buy sets with matching sizes
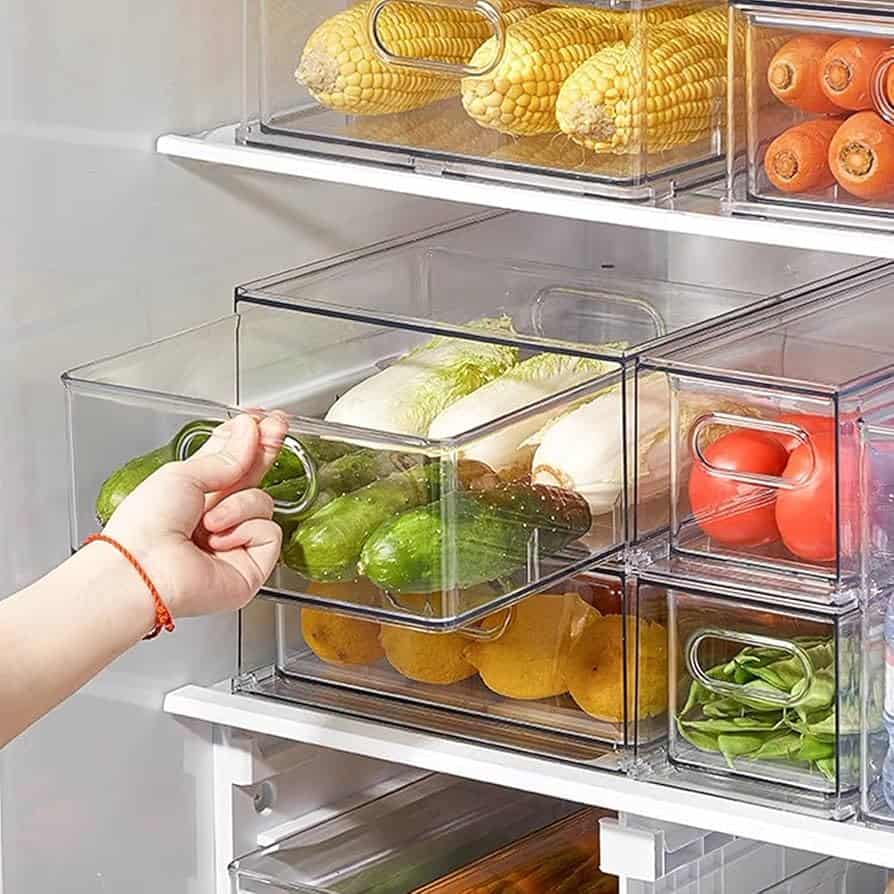
- Tiny fridge? Avoid bulky containers, choose rectangular over round
How Clumsy are you?
- Drop things often? Stick with plastic
- Careful handler? Glass is fine
- Kids helping with meal prep? Definitely plastic
Can’t Decide? Use This Quick Guide
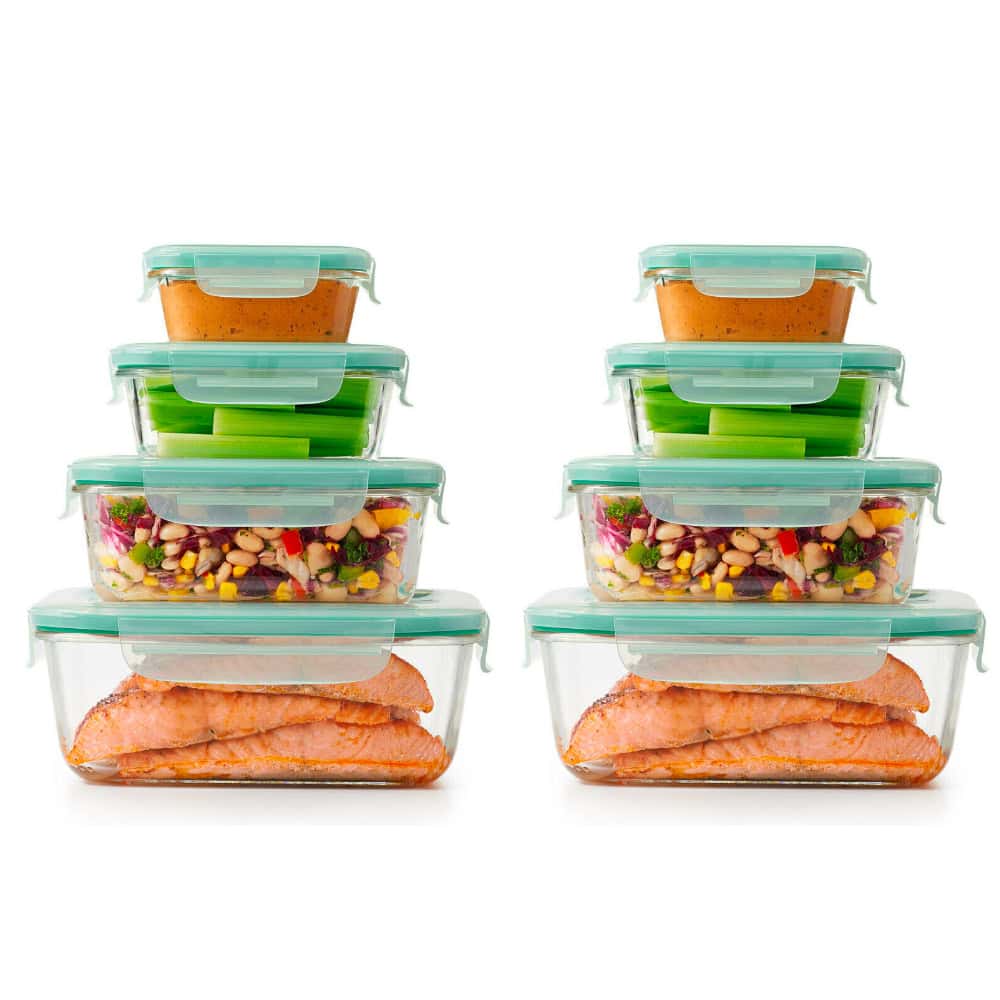
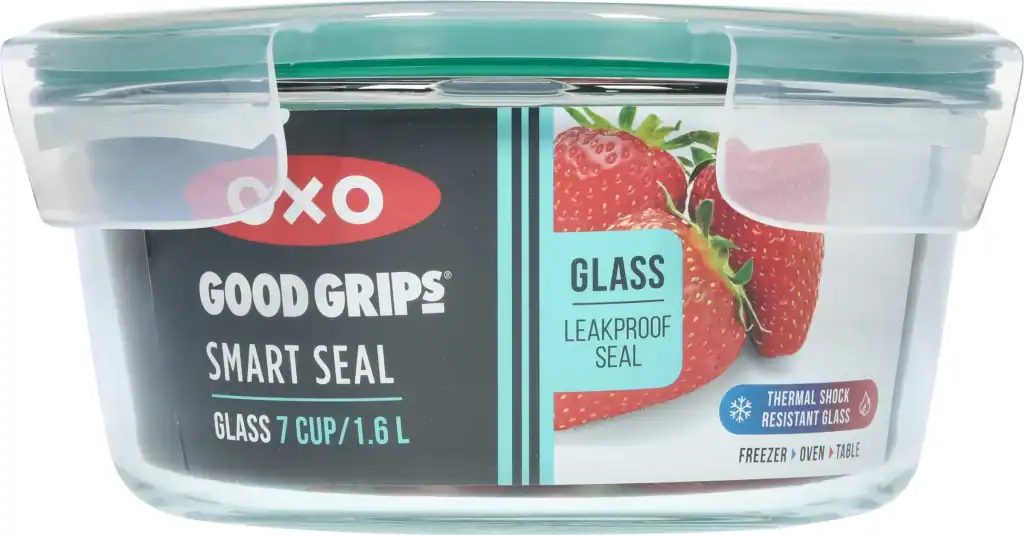
If you’re reheating at work → OXO Good Grips (microwave-safe, leakproof, won’t embarrass you)
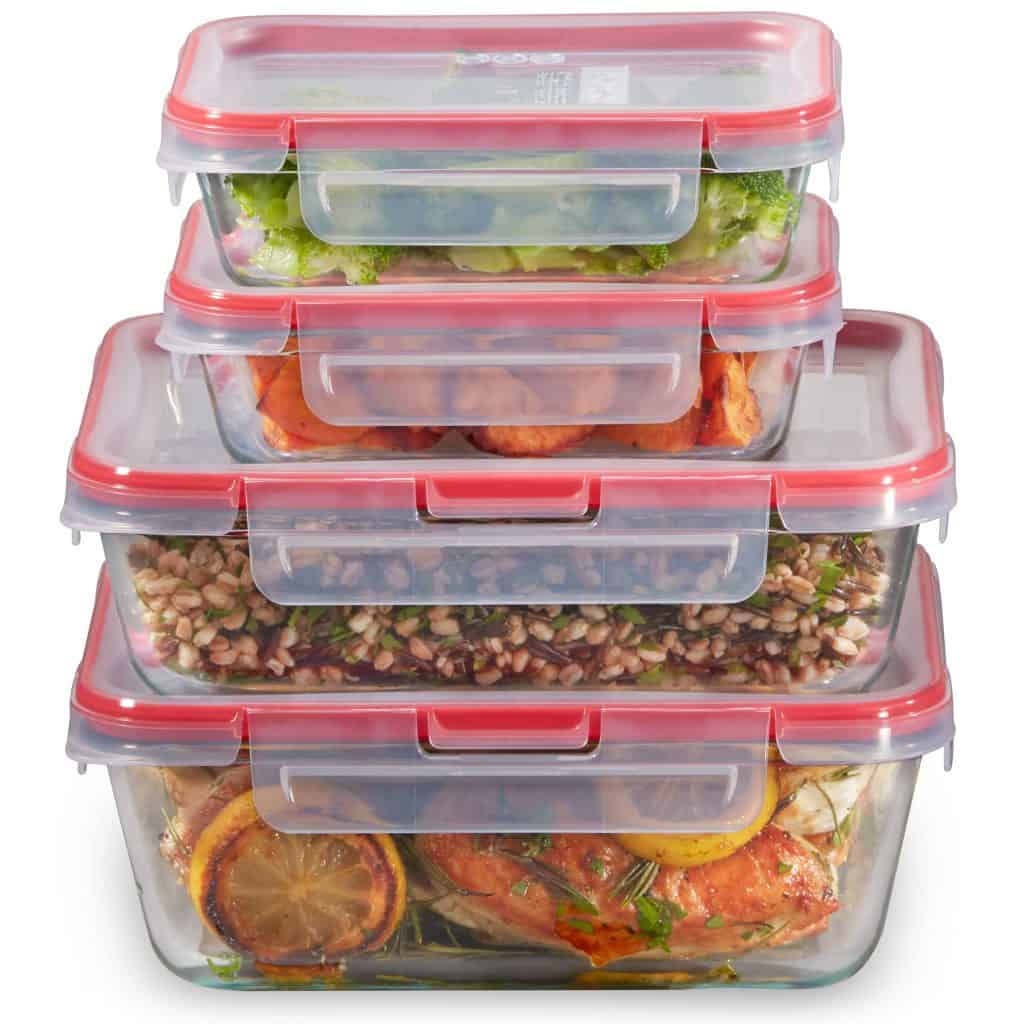
If you’re batch cooking at home → Pyrex glass (oven-safe, large sizes, lasts forever)
If you’re on a tight budget → Rubbermaid Easy Find (affordable, versatile, gets the job done)
If you’re trying to reduce waste → Stasher bags (replace hundreds of plastic bags)
If you need grab-and-go snacks → Ball mason jars (cheap, durable, perfect portions
Best Meal Prep Containers for Beginners: My Starter Kit
If you’re beginning, don’t buy everything at once. Start with these three things:
- One set of OXO Good Grips containers (6-piece set) – $38
- One pack of Rubbermaid Easy Find (5.5 cup, 5-pack) – $24.79
- Two Stasher bags (one sandwich size, one snack size) – $21.76
Total investment: About $85
This covers most meal prep situations. You’ve got reliable leakproof containers for lunches (OXO), cheap containers for leftovers and experimenting (Rubbermaid), and reusable bags for snacks (Stasher).
Use this setup for a month. Figure out what sizes you reach for most often. Then add more pieces that fill the gaps. Maybe you need bigger containers for batch cooking. You might need more snack-size containers. Let your actual habits guide your purchases.
Add glass containers later if you want them. I didn’t buy Pyrex until six months into meal prepping, once I knew I’d stick with it.
The Right Container Sizes for Portion Control
Here’s something most people don’t think about: your container size affects how much you eat. Bigger container, bigger portions. It’s just human nature.
1-cup containers (8 oz): Perfect for snacks and side dishes
- Raw vegetables with hummus
- Fresh fruit
- Nuts and seeds
- Salad dressing
2-cup containers (16 oz): Ideal for single meal portions
- Balanced lunch with protein, vegetables, and grains
- Soup or chili
- Pasta dishes
- Stir-fries
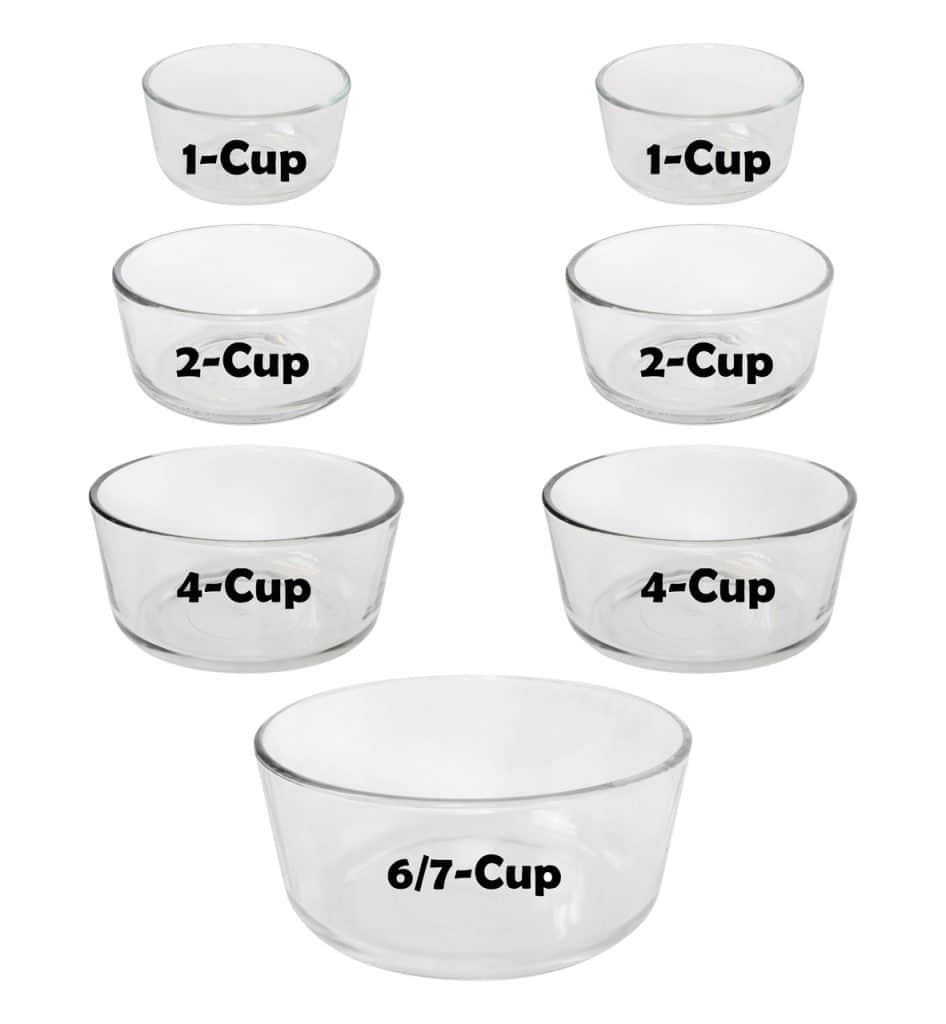
4-cup containers (32 oz): Best for batch cooking and family-size portions
- Meal prep for 2-3 people
- Large salads
- Casseroles
- Leftover dinner that feeds multiple meals
6-cup containers and larger: For serious batch cooking
- Soups and stews
- Big batches of grains or pasta
- Whole roasted chickens
- Family-size casseroles
Most people need a mix. I use mostly 2-cup containers for daily lunches, some 1-cup containers for snacks and sides, and a few 4-cup containers for batch cooking on Sundays.
Common Meal Prep Container Mistakes to Avoid
I’ve made every container mistake possible. Learn from my failures and save yourself time, money, and frustration.
Don’t Buy Too Many at Once
I bought three full container sets when I first started because they seemed like a good deal. Guess what? I used the same five containers over and over. The rest collected dust and took up space in my already-crowded cabinets.
Start small. Add more as you actually need them. Figure out what size works best for you and your family before investing in bulk sets.
Don’t Ignore Your Lifestyle
I bought beautiful glass containers before realizing I walked a mile into work every day. Glass containers in a shoulder bag equals disaster—and one cracked container later, I learned my lesson.
Think about your actual life before buying:
- Long commute? Lightweight plastic
- Eat lunch at your desk? Anything works
- Walk or bike to work? Definitely not glass
- Work from home? Glass is perfect
Don’t Forget to Test Your Fridge Space
I bought rectangular containers without measuring my fridge shelves first. Half of them were too tall to stack properly. The containers were great, but they didn’t fit my life.
Before buying, measure:
- Fridge shelf height
- Shelf depth
- Lunch bag dimensions
- Microwave interior size
Don’t Skip Testing the Lids
The cheapest container with a great lid beats the expensive container with a terrible lid. Always test the lid before buying a full set if you can.
A good lid should:
- Snap on easily but stay secure
- Create an airtight seal
- Be easy to remove (not too tight)
- Not warp in the dishwasher
- Be available as replacements
Don’t Forget About Lunch Bag Space
I bought perfectly round containers that looked adorable. Then I tried to fit them in my lunch bag. Round containers waste space and don’t pack efficiently.
Rectangular containers are almost always better for transport. They stack neatly, fit in bags better, and maximize fridge space.
Container Care: Make Your Meal Prep Containers Last Forever
I’ve learned some hard lessons about container care. Here’s how to keep your containers looking new for years.
Cleaning Tips That Actually Work
Remove stains naturally: Mix baking soda and water into a paste. Rub it inside stained containers and let sit for an hour. The stains literally disappear. Works on both plastic and glass. I do this once a month for my tomato-sauce containers.
Stop the smell: Wash containers with white vinegar once a month. This removes any lingering food odors that normal dish soap misses. Your containers will smell completely neutral again.
Hand-wash lids: Even if the container is dishwasher safe, I hand-wash lids. The high heat in dishwashers makes plastic lids crack and warp faster. My lids last twice as long since I started doing this. It takes an extra 30 seconds and saves me money.
Spray before storing tomato sauce: Spray containers with cooking spray before adding tomato-based foods. The oil creates a barrier that prevents staining. Game changer.
Wash immediately: Don’t let sauce sit in containers overnight. The longer it sits, the worse the staining. Rinse containers right after eating, even if you can’t wash them fully until later.
Storage Hacks for Container Organization
Keep lids and containers together: I spent six months searching for matching lids like it was a treasure hunt. Now I store each container with its lid snapped on, even when empty. Game changer. No more digging through a cabinet full of orphaned lids.
Stack by size: Put all small containers together, medium together, and large together. When you need a specific size, you’ll find it in five seconds instead of digging through a pile.
Use drawer dividers: If you store containers in drawers, use dividers to keep different sizes separated. Your kitchen organization will thank you.
Store in sets: Keep all containers from the same brand together. OXO containers with OXO lids. Rubbermaid with Rubbermaid. Mixing brands leads to chaos.
Glass vs. Plastic Meal Prep Containers: The Real Difference
People always ask me: Should I buy glass or plastic? Here’s the honest answer.
When Glass Wins
Durability: Glass lasts forever. My grandmother still uses Pyrex from the 1970s. Plastic containers typically last 2-5 years before they get scratched, stained, or warped.
Oven-safe: You can reheat food in glass containers in the oven. Plastic melts. This is huge for casseroles, baked chicken, or anything that tastes better with oven heat.
No staining or odors: Spaghetti sauce, curry, chili—glass doesn’t care. It washes clean every time. Plastic absorbs colors and smells.
Better for the environment: Glass recycles easily. When it eventually breaks (after decades), you can recycle it. Many plastics don’t recycle well.
Looks nicer: Glass just looks more professional. If you’re bringing food to a potluck or serving guests, glass looks better on the table.
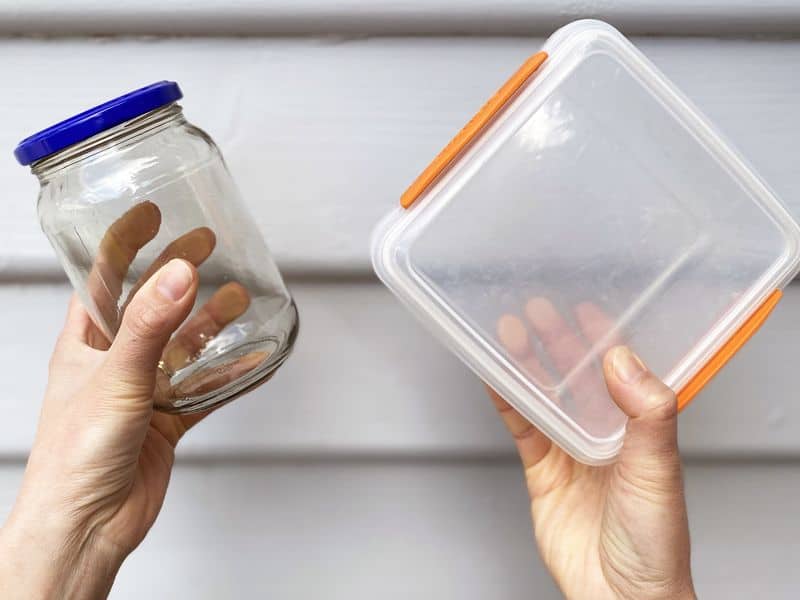
When Plastic Wins
Weight: Plastic weighs almost nothing compared to glass. If you’re packing lunch for work, carrying multiple glass containers gets heavy fast.
Won’t shatter: Drop a plastic container? It bounces. Drop a glass container? You’re cleaning up shards and losing your lunch.
Cheaper: Plastic containers cost less upfront. You can buy a full set of plastic for the price of three glass containers.
Better for kids: If your kids are helping with meal prep or packing their own lunches, plastic is safer. Less risk of broken glass.
More portable: Plastic works better for picnics, hiking, camping, or anywhere you need lightweight, durable storage.
My Honest Recommendations
Use both. I keep glass containers at home for storing prepped ingredients and reheating in the oven. I use plastic containers for packing lunches and anything that leaves the house.
Don’t force yourself to choose one or the other. Match the material to the situation.
OXO vs. Rubbermaid: Which Meal Prep Containers Should You Buy?
This is the question I get most often. Here’s my take after using both brands extensively.
OXO Good Grips: When to Choose Them
Best for:
- People who hate leaks
- Anyone who needs reliable, everyday containers
- Meal preppers are willing to invest a bit more
- Situations where you absolutely can’t have spills
Pros:
- Actually leakproof (I’ve tested this extensively)
- Stack perfectly in the fridge
- Don’t stain easily
- Lids last longer
- Look more professional
Cons:
- Costs more upfront
- Fewer size options than Rubbermaid
- Not available everywhere
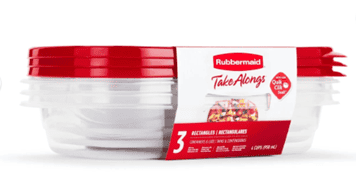
Rubbermaid: When to Choose Them
Best for:
- Beginners just starting meal prep
- Tight budgets
- People who lose containers
- Anyone who needs lots of containers fast
Pros:
- Very affordable
- Available everywhere
- Tons of size options
- Easy to replace
- Great for experimenting
Cons:
- Not as leakproof
- Stains more easily
- Lids wear out faster
- Don’t look as nice
My Verdict
Start with Rubbermaid. Use it for a month. If you hate dealing with leaks and stains, upgrade to OXO. If Rubbermaid works fine for you, save your money.
I use both because each brand has its place. OXO for my important meal prep that needs to stay fresh all week. Rubbermaid for random leftovers and foods I’ll eat within a day
The Real Cost of Meal Prep Containers
Let’s talk money. How much should you actually spend on containers?
Basic Setup: $50-75
This gets you enough containers for a week of meal prep:
- One set of mid-range containers (10 pieces)
- A few glass containers for home storage
- Some basic snack containers
- Maybe one or two Stasher bags
This is where most people should start.
Intermediate Setup: $100-150
Once you’re committed to meal prepping:
- Mix of plastic and glass containers
- Multiple sizes for different meals
- Leakproof containers for soups and sauces
- Several Stasher bags for snacks
- Specialty containers for specific needs
Premium Setup: $150-250
For serious meal preppers:
- High-quality glass containers
- Premium plastic (like Rubbermaid Brilliance)
- Full set of Stasher bags
- Specialty containers for specific foods
- Backup containers so you never run out
Here’s the Thing About Cost
These containers last for years. I’m still using containers I bought three years ago. When you calculate the cost per use, even expensive containers become cheap.
A $40 set of OXO containers used 5 times per week for 3 years = 780 uses = $0.05 per use.
Plus, meal prepping saves money on food. Using good containers means your prepped food actually stays fresh, so you waste less. I was throwing away spoiled food every week before I invested in proper containers. Now? Almost never.
The money you save by not wasting food pays for containers within a few months.
Sustainable Meal Prep Containers and Environmental Impact
I care about reducing waste. My container choices reflect that.
Ditch Single-Use Plastic
Stasher bags replaced hundreds of plastic bags in my kitchen. Glass containers replaced the takeout containers I used to collect. The environmental impact adds up fast.
Every Stasher bag replaces about 260 single-use plastic bags per year. I own four Stasher bags. That’s over 1,000 plastic bags per year I’m not throwing away.
Buy Once, Use Forever
Cheap containers break and need replacing. Quality containers last for decades. My mother still uses Pyrex from the 1970s. That’s sustainable.
When you buy quality, you’re not sending containers to landfills every few years. You’re making one purchase that lasts.
Choose Recyclable Materials
When containers do wear out, glass and stainless steel recycled easily. Many plastics don’t. Think about the full lifecycle.
Look for containers marked with recyclable plastic (usually #2 or #5). Avoid containers with multiple materials that can’t be separated.
My Environmental Strategy
- Glass containers for long-term storage
- Reusable silicone bags for snacks
- Durable plastic containers (not disposable)
- Hand-wash lids to make them last longer
- Buy quality once instead of cheap multiple times
Small choices add up over time.
When to Buy Meal Prep Containers: Timing Your Purchase
Want to save money? Buy containers at the right time.
Best Sales Throughout the Year
Amazon Prime Day (July): One of the best times to buy. I’ve seen Pyrex sets for 50% off and OXO containers for 30-40% off. Mark your calendar for mid-July.
Black Friday (November): Kitchen items go on deep discount. Container sets that normally cost $40 are now available for $20. Stock up during Black Friday sales if you can wait until November.
Christmas sales (December): Similar to Black Friday. Retailers want to clear inventory, so prices drop. Good time to buy glass containers, especially.
Back-to-School sales (August): Many stores offer discounts on lunch containers and food storage. Not as dramatic as Prime Day or Black Friday, but decent savings.
New Year (January): As everyone focuses on healthy eating and organization, stores put containers on sale. A good time to buy if you’re starting fresh with your New Year’s resolutions.
My Buying Strategy
I check prices during Prime Day and Black Friday. I buy what I need, plus one backup set if prices are really good. I don’t go overboard because I’ve learned I don’t need 50 containers.
Set price alerts on Amazon for specific containers you want. You’ll get notified when they go on sale.
Complete Kitchen Setups by Budget
Not sure what to buy? Here are complete setups for different budgets.
$50 Starter Setup
What to buy:
- Rubbermaid Easy Find 20-piece set ($20)
- 4 Pyrex Simply Store containers ($20)
- 2 Stasher bags ($10)
What you can do: Pack work lunches, store leftovers, prep snacks, and basic meal prep
Best for: Complete beginners testing meal prep
$100 Intermediate Setup
What to buy:
- OXO Good Grips 8-piece set ($40)
- Rubbermaid Easy Find 20-piece set ($20)
- 6 Pyrex Simply Store containers ($25)
- 4 Stasher bags ($15)
What you can do: Full weekly meal prep, batch cooking, work lunches, snack prep, minimal waste
Best for: Regular meal preppers who’ve committed to the process
$200+ Premium Setup
What to buy:
- OXO Good Grips multiple sets ($80)
- Pyrex Simply Store large collection ($50)
- Rubbermaid Brilliance set ($30)
- 8+ Stasher bags ($40)
What you can do: Everything. Batch cooking, weekly meal prep, specialized storage, zero-waste lifestyle, always have clean containers available
Best for: Serious meal preppers, families, and anyone doing extensive bat
Frequently Asked Questions About Meal Prep Containers
Are glass containers really better than plastic?
For most uses, yes. Glass doesn’t stain, doesn’t hold smells, and lasts longer. But plastic wins for portability and durability if you drop things. I use both—glass at home, plastic for transport.
Can I freeze glass containers?
Most glass containers work in the freezer. Leave some space at the top because food expands when frozen. Never put a hot glass container directly in the freezer—let it cool first to avoid cracking.
How do I prevent staining in plastic containers?
Spray containers with cooking spray before adding tomato-based foods. The oil creates a barrier. Also, wash containers immediately after use instead of letting the sauce sit overnight. For existing stains, use a baking soda paste.
What size containers should I buy?
Most people need these sizes:
- 1-cup containers for snacks and sides
- 2-cup containers for lunch portions
- 4-cup containers for batch cooking and leftovers
- One or two large (6+ cup) containers for big batch cooking
Start with mostly 2-cup containers and adjust based on what you use.
Are expensive containers worth the money?
Sometimes yes, sometimes no. Expensive containers typically have better seals, don’t stain as easily, and last longer. But cheap containers work fine for foods you’ll eat within a day or two. Match the container quality to how you’ll use it.
How long do meal prep containers last?
Glass containers can last for decades. Quality plastic containers last 3-5 years with regular use. Cheap plastic containers last 1-2 years. Lids wear out faster than containers—plan to replace lids every 3-5 years.
Can I microwave plastic containers?
Only if they’re labeled microwave-safe. I hand-wash the lids to have them last longer. High heat damages plastic over time. Never microwave containers that are not labeled as microwave-safe.
What’s the best way to organize containers?
Store containers with lids attached, even when empty. Stack by size. Keep all containers from the same brand together. Use drawer dividers if storing in drawers. This saves time and frustration.
Summary
Choosing meal prep containers begins with understanding portion sizes and how they align with container capacity. The magic trio: 1-cup containers for snacks and sides, 2-cup containers for balanced single meals, and 4-cup containers for batch cooking and family portions. Most people need primarily 2-cup containers for daily use, with smaller quantities of the other sizes supporting specific needs.
Budget-conscious meal preppers should start with a $50-75 basic setup covering essential sizes across both plastic and glass options, then expand strategically based on actual usage patterns over the first month. A mid-range investment of $100-150 offers flexibility across all container types and sizes, while a premium setup of $ 200 or more suits serious batch cooks and families doing extensive weekly prep. The key isn’t spending more—it’s spending smart on sizes you’ll actually use repeatedly.
Different container sizes serve specific purposes: 1-cup for portion-controlled snacking, 2-cup for work lunches and balanced meals, 4-cup for leftovers and batch cooking, and 6-cup or larger for serious Sunday meal prep sessions. Match container material to usage—lightweight plastic for transport, durable glass for home storage and oven reheating, and reusable silicone bags for reducing single-use plastic waste.
Environmental impact matters. Quality glass containers last decades (reducing landfill waste), Stasher bags replace hundreds of disposable plastic bags annually, and choosing recyclable materials ensures responsible end-of-life disposal. The most sustainable choice? Buying quality containers that last for years instead of replacing cheap containers every season.
Start with essential sizes in your budget range, prioritize containers that serve multiple purposes, and let your actual meal prep habits guide future purchases. The right-sized containers naturally support portion control, reduce food waste by keeping meals fresh longer, and make clean eating sustainable both environmentally and financially.