Clean Eating Cooking Techniques That Change Everything

Introduction
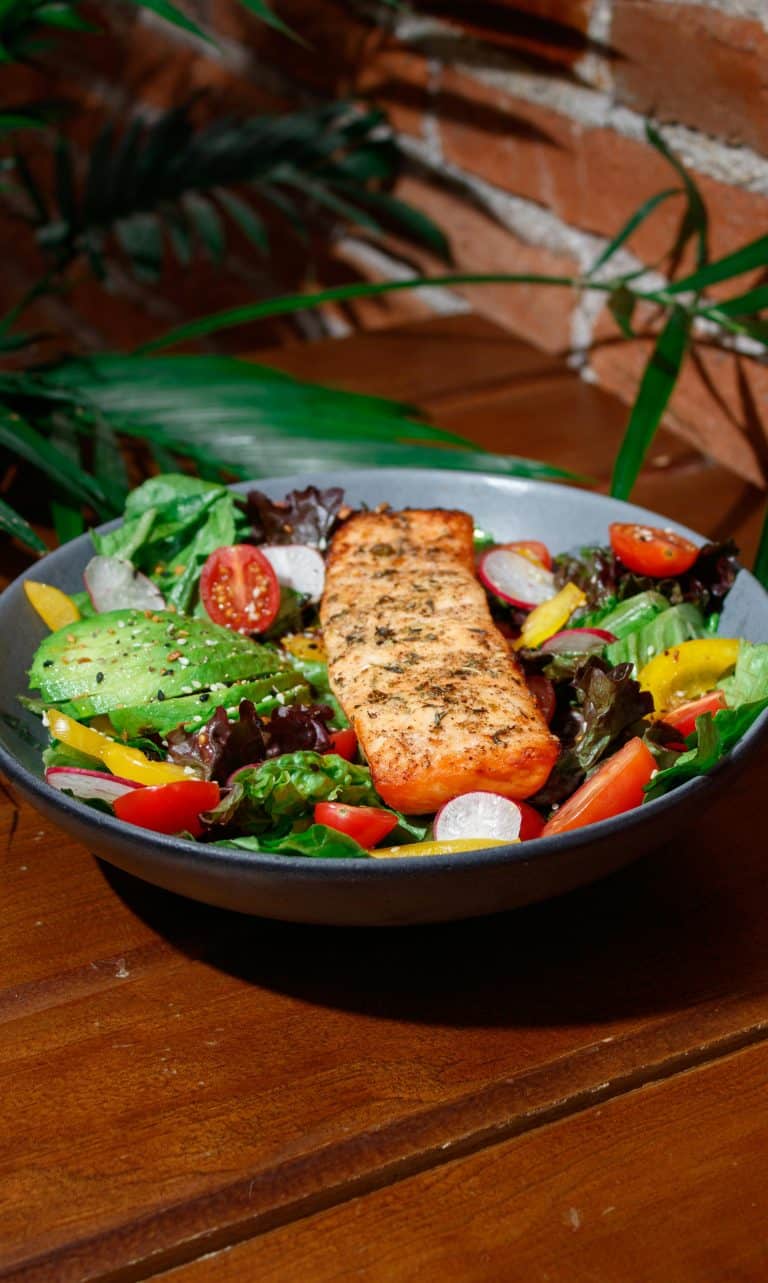
I’m going to be honest with you – when I first switched to clean eating, my food was boring. I thought clean eating meant bland, unseasoned food like steamed vegetables with plain chicken. It took me way too long to realize that clean eating doesn’t mean your taste buds have to suffer. You just need to learn a few fundamental techniques that professional cooks use, and suddenly you’re making restaurant-quality meals at home with whole ingredients. How to Start Clean Eating: Complete Beginner’s Guide 2026
Then I started paying attention and realized the problem wasn’t the food. It was my technique.
Here’s what I mean. I’d throw everything in a pan at once, use dried-out herbs from three years ago, and wonder why restaurant food tasted so much better than mine. I had the right ingredients. I just didn’t know how to handle them.
I’m going to share seven clean eating cooking techniques that completely changed my clean eating game. None of them are complicated. None of them require fancy equipment. But together? They transform simple ingredients into fabulous meals.
Let’s make your clean eating taste as good as it makes you feel.
Why Technique Matters More Than Recipe
I used to collect recipes like they were going to save me. I’d pin them, bookmark them, print them out. My kitchen cupboard was stuffed with recipes I’d never made twice.
You know what changed my cooking? Learning the fundamental techniques behind those recipes.
Think about it. Every recipe is just a combination of basic techniques. Once you understand how to properly season, how to build flavor, how to keep your workspace organized—you don’t need to follow recipes exactly anymore. You can improvise. You can fix mistakes. You can make anything taste better.
Here’s what good techniques do for clean eating:
It makes healthy food taste incredible. A perfectly seasoned roasted vegetable beats a bland one every single time. Same ingredient, totally different experience.
It saves you time and stress. When you know how to organize your prep, cooking stops feeling chaotic. When you clean as you go, you’re not facing a disaster zone at the end.
It builds your confidence. I can’t tell you how many women have told me they gave up on clean eating because they “can’t cook.” But cooking isn’t a mysterious talent. It’s skills you can learn.
Growing up in Vermont, I watched my grandmother cook without measuring anything. She just knew how things worked. I thought that was magic. Turns out, it’s just a practiced technique.
Ready? Let’s start with the most important tool in your kitchen.
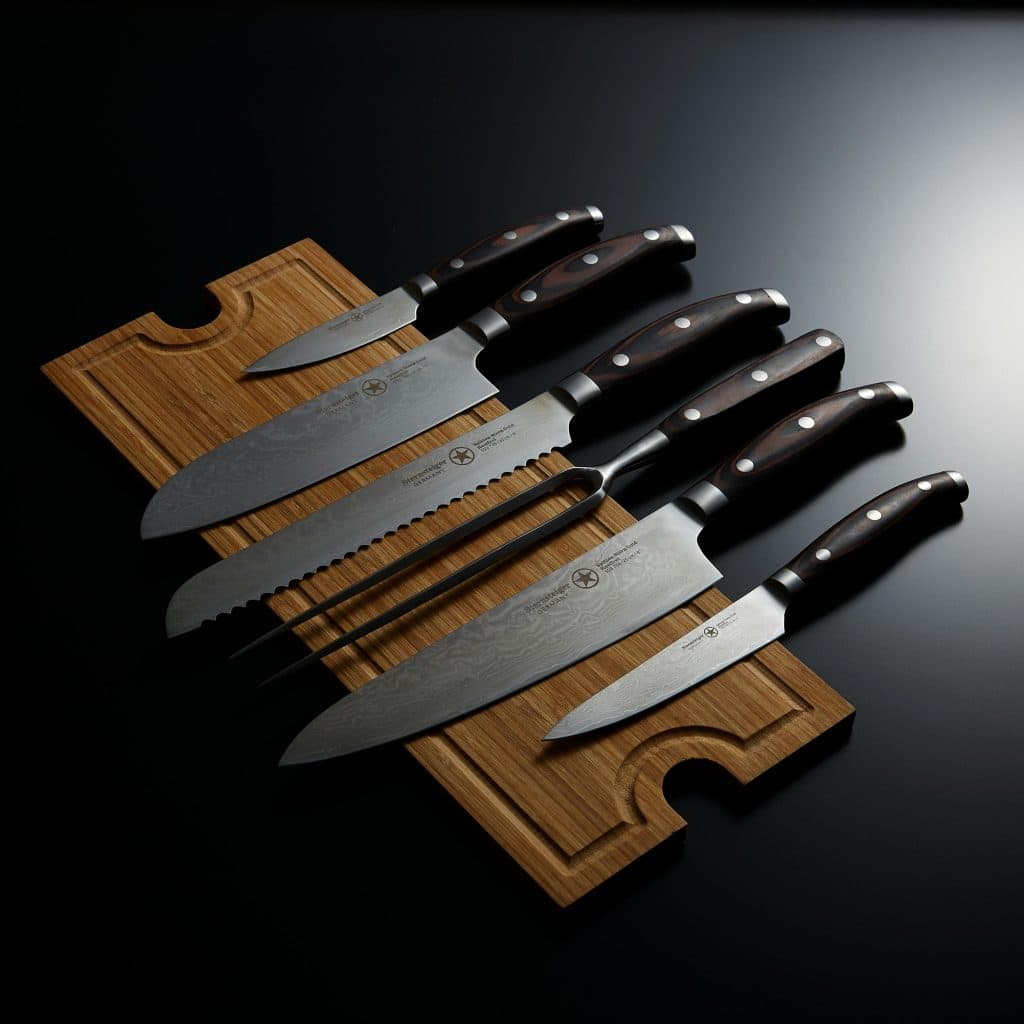
Technique #1: Keep Your Knife Sharp
This is the foundation of everything else. A dull knife makes cooking miserable. A sharp knife makes it effortless.
Why this matters:
I spent years fighting with a dull knife, crushing tomatoes instead of slicing them, struggling through onions that made me cry twice as much as they should. I thought that was just how cooking was.
Then I got my knife professionally sharpened. The first time I cut through a bell pepper with zero resistance, I literally laughed out loud. It was that dramatic.
It makes prep faster. When your knife glides through vegetables instead of sawing, you cut your prep time in half.
It’s safer. Dull knives slip off food and into your fingers. Sharp knives go exactly where you point them.
It makes vegetables look better and taste better. When you crush a tomato with a dull knife, it releases all its juices. A sharp knife cuts cleanly, keeping everything intact.
How to keep your knife sharp:
Get it sharpened every year. Most kitchen stores offer this service for about $5-8 per knife. Totally worth it. When searching locally, check Yelp or Google Maps for “knife sharpening near me” to find independent, high-rated professionals in your specific area.
Between professional sharpening, use a honing steel once a week. This realigns the edge. It takes about 30 seconds.
Knife care tips: Don’t put your knife in the dishwasher, hand-wash and dry it immediately. Use a cutting board, never cut on plates or countertops. https://www.seriouseats.com/ways-to-ruin-your-knives-knife-care-tips-safety
My honest experience:
I resisted paying for knife sharpening for years. Those cheap sharpeners just made things worse. Getting professional sharpening was one of those small changes that made a massive difference.
Start here: Check your knife. Does it easily slice through a tomato without squishing it? If not, it’s time for sharpening.
Technique #2: Mise en Place (Everything in Its Place)
This French term means “everything in its place,” and it’s how professional chefs avoid chaos in the kitchen.
What mise en place actually means:
Before you start cooking, you measure, chop, and organize all the ingredients. It took me way too long to realize that clean eating doesn’t mean your taste buds have to suffer. You just need to learn a few fundamental techniques that professional cooks use, and suddenly you’re making restaurant-quality meals at home with whole ingredients.
Everything gets its own little bowl or spot on your cutting board. Then, and only then, do you turn on the heat.
Why this technique changed my cooking:
I used to start heating my pan, then frantically chop vegetables while the oil smoked. I’d forget ingredients. I’d burn garlic because I was still dicing onions. Cooking felt stressful and rushed.
Mise en place fixed all of that.
Now I spend 10-15 minutes prepping everything before I touch the stove. My onions are diced. My garlic is minced. My spices are measured. My vegetables are ready to go.
When it’s time to cook, I’m calm. I add things when they’re supposed to be added, not when I finally finish chopping them.
How to practice mise en place:
Read the entire recipe first. I know this sounds obvious, but how many times have you gotten halfway through and realized you needed something you didn’t have?
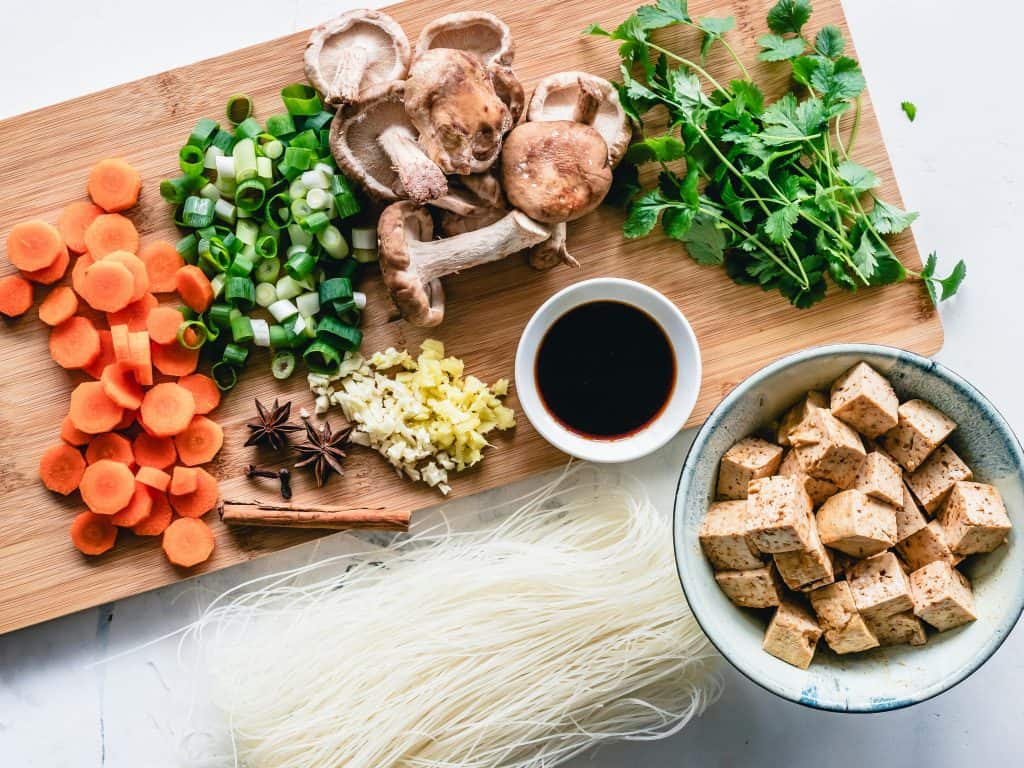
Prep all your vegetables. Chop your onions, mince your garlic, cut your peppers. Put each one in a small bowl or on different spots on your cutting board.
Measure your spices and liquids. Get out your olive oil, your stock, your seasonings. Have them ready to grab.
Line up everything in the order you’ll use it.
Then start cooking.
The real benefit:
This isn’t just about organization. It’s about actually enjoying the cooking process. When you’re not stressed and scrambling, you can pay attention to how things smell when they’re perfectly done.
Start here: Pick a simple recipe you make often. This week, try prepping everything before you turn on the heat. Notice how different it feels.
Technique #3: Clean as You Go
This technique pairs perfectly with mise en place. It keeps your kitchen functional and your mind clear.
What this looks like:
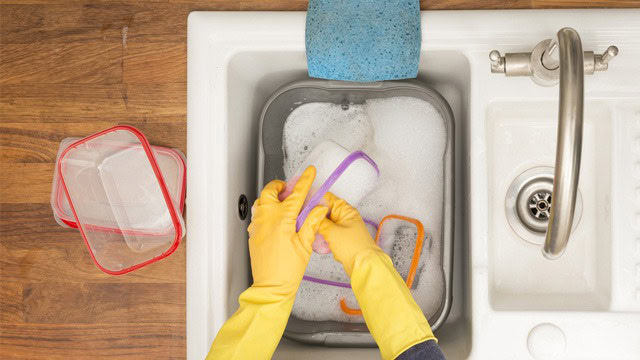
While your onions sauté, you wash the cutting board you just used. While vegetables roast in the oven, you wipe down the counter. By the time dinner is ready, your kitchen is mostly clean.
Why I finally embraced this:
For years, I cooked like a tornado. By the time I sat down to eat, my kitchen looked like a disaster zone. I’d think, “Clean eating is so much work.” But it wasn’t the eating that was work—it was my messy process.
Cleaning as I go completely changed this experience.
How to make this a habit:
Fill your sink with hot soapy water before you start cooking. As soon as you’re done with a bowl or knife, drop it in.
Use downtime strategically. Waiting for water to boil? Wash the cutting board. Vegetables in the oven? Clean your prep area.
Keep a damp towel on the counter. Wipe up spills immediately instead of letting them harden.
Put ingredients away as soon as you use them.
The unexpected benefit:
When your workspace is clear, you can actually see what you’re doing. You’re not hunting for a clean spot to set down a hot pan.
A clear workspace = a clear mind.
Start here: This week, try just one habit. Maybe it’s washing your cutting board while onions cook. Build from there.
Technique #4: Salt Throughout the Cooking Process
I grew up in the era of ‘salt is bad’. This was the biggest game-changer for my cooking. Understanding salt transformed every single dish I make.
The mistake I made for years:
I’d cook an entire meal with no seasoning, then add salt at the very end. My food tasted flat and one-dimensional. I’d add more salt, but it never quite tasted right.
Here’s what I didn’t understand: salt doesn’t just make food salty. It enhances and develops flavors. But only if you add it at the right times.
How to salt throughout cooking:
Season your vegetables when they hit the pan. When you add onions or peppers to a hot pan, sprinkle them with a pinch of salt immediately. The salt draws out moisture, helping them cook more evenly and develop better flavor.
Season your proteins before cooking. I salt my chicken or fish about 15-30 minutes before it goes in the pan. The salt penetrates the meat, seasoning it all the way through instead of just on the surface.
Season liquids when you add them. Adding stock or tomatoes to your pan? Salt it right then. Don’t wait until the end.
Taste and adjust at the end. After layering salt throughout, taste your final dish. You might need a tiny bit more, or you might be perfect.
Why this works:
Professional cooks season at every stage of cooking. When you salt in layers, each component develops its own flavor. The onions taste like the best version of onions. The tomatoes taste like amazing tomatoes. Together, they create depth instead of blandness.
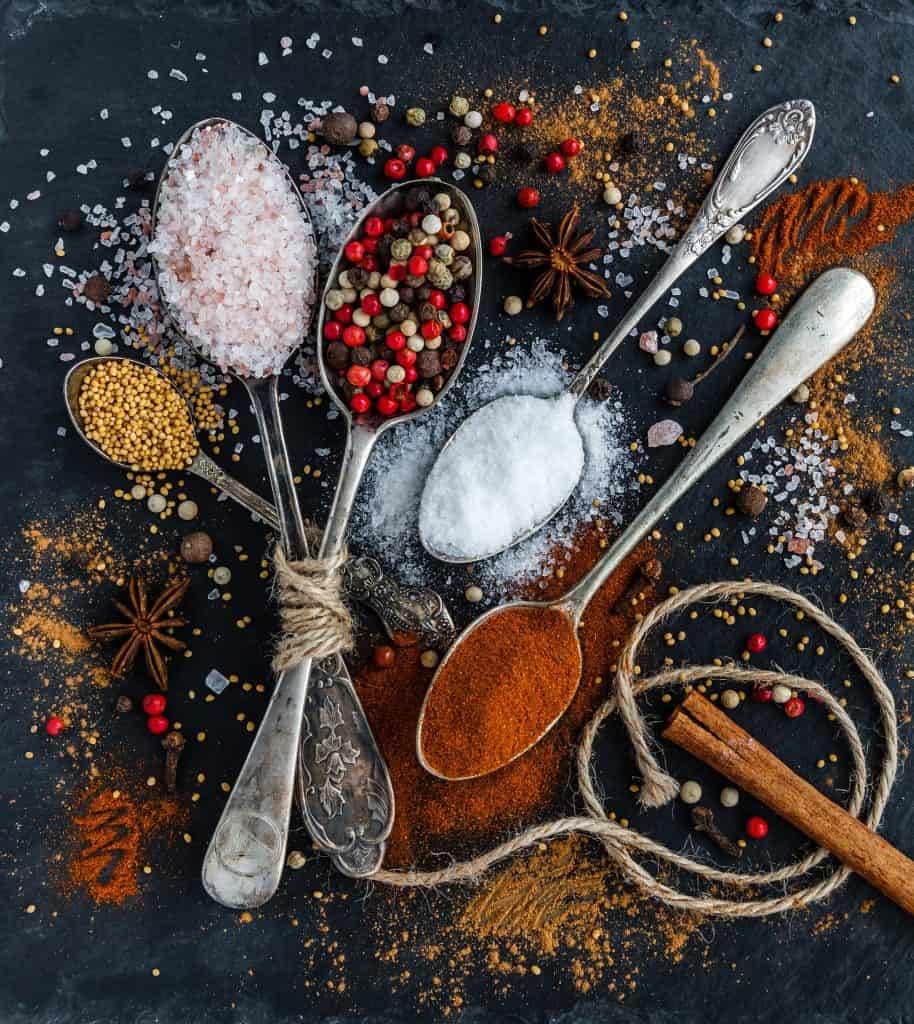
How much salt to use:
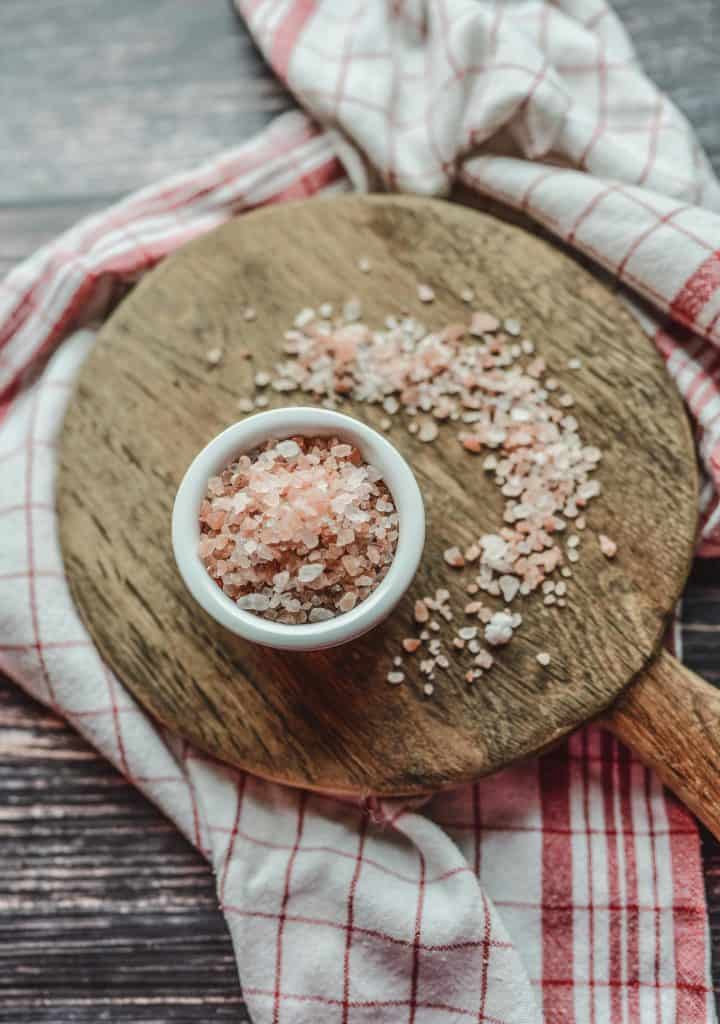
Use fine sea salt, Celtic salt or kosher salt for cooking (not iodized table salt, which has a metallic taste). Kosher salt has larger crystals, so it’s easier to control.
Start with small pinches. You can always add more. A “pinch” is what you can grab between your thumb and two fingers.
The key is tasting as you go. Add a little salt, taste it, adjust. You’re looking for the point where the flavors become clear and defined instead of muddy. It’s not about making food salty – it’s about making the actual flavors of your ingredients shine.
Start here: Next time you sauté vegetables, add a pinch of salt right when they hit the pan. Taste the difference.
You can absolutely eat clean and use salt. Salt is a mineral your body needs, and when you’re cooking whole foods at home instead of eating processed stuff, you’re probably getting way less sodium than you think.
Technique #5: Add Acid for Brightness
If salt was my biggest revelation, acid was my second. This one simple ingredient makes clean-eating food taste restaurant-quality.
What “adding acid” means:
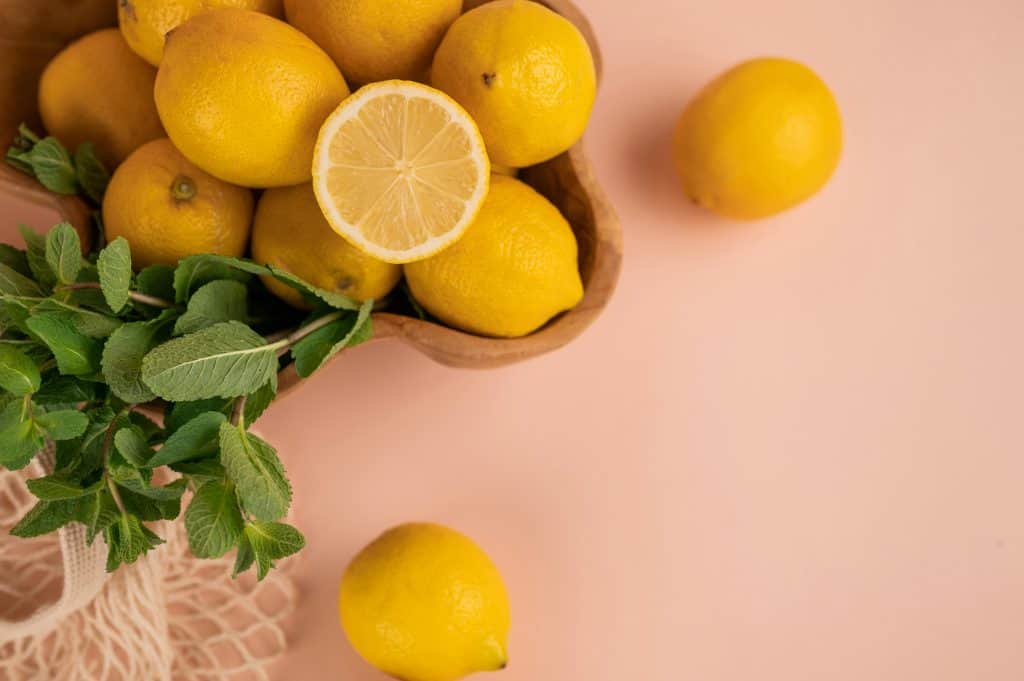
Acid is anything bright and tangy: lemon juice, lime juice, vinegar. Just a little bit wakes up your entire dish.
Why your food needs acid:
Remember when I said my food tasted flat? Even after I learned to salt properly, something was still missing. That something was acid.
Acid balances richness. It cuts through fat. It makes flavors pop instead of just sitting there on your tongue.
How I use acid in clean eating:
Squeeze lemon over roasted vegetables. Right before serving, a squeeze of fresh lemon transforms them. Suddenly they’re bright, interesting, crave-worthy.
Add a splash of vinegar. Red wine vinegar is my go-to for heartier dishes like roasted root vegetables or grain bowls. Apple cider vinegar works great in slaws and lighter salads. Balsamic vinegar (the real stuff, not the sugary glaze) is incredible drizzled over roasted Brussel sprouts or strawberries. And fresh citrus juice? I squeeze over everything – fish, chicken, vegetables, beans, you name it. At the very end of cooking, add a tablespoon of apple cider vinegar, red wine vinegar, or balsamic vinegar. It brings all the flavors into focus.
Dress salads with lemon or vinegar. I make a simple dressing with lemon juice, olive oil, salt, and pepper. That acid is what makes salad actually taste good.
Finish grain bowls with lime. A squeeze of lime over quinoa, chicken, and vegetables makes everything taste cohesive and delicious.
The key is to add acid at the end.
Unlike salt, which you add throughout cooking, acid usually goes on at the very end. Heat can dull acid’s brightness, so save it for the final touch.
How much to use:
Start small. A tablespoon of lemon juice or vinegar is often enough for a dish serving 4 people.
Taste, add a little acid, taste again. You’ll notice the difference immediately—everything suddenly tastes more vibrant.
Start here: Squeeze lemon over your roasted vegetables right before eating. Notice what happens.
Technique #6: Master Your Herbs and Spices
I used to throw herbs at random times and wonder why they either tasted like nothing or were weirdly bitter. Turns out, there’s actually a right time to add each type.
The basic rules:
Dried herbs go in early. Fresh herbs go in at the very end. And if you really want to level up your spice game, toast whole spices before using them.
Why timing matters:
Dried herbs need time to rehydrate and release their flavor. If you add dried oregano at the end of cooking, it tastes dusty. But if you add it early and let it simmer, it blooms and becomes flavorful.
Fresh herbs lose their brightness when cooked too long. Basil turns brown and bitter. Cilantro loses its fresh flavor. They’re at their best when added raw or barely cooked.
How I use this in practice:
Dried herbs (add early):
- Dried oregano goes into my tomato sauce at the beginning
- Dried thyme goes into the soup when I add the liquid
- Dried rosemary goes on my chicken before it roasts
Fresh herbs (add at the end):
- Fresh basil gets torn over pasta right before serving
- Fresh cilantro gets sprinkled on tacos after they’re assembled
- Fresh parsley gets chopped and stirred into the soup in the last 30 seconds
The spice upgrade (optional but amazing):
When I have time, I toast whole spices in a dry pan for 2-3 minutes until they smell incredible, then grind them in a coffee grinder or mortar and pestle. The difference between pre-ground cumin and freshly toasted cumin is night and day.
Whole cumin seeds, coriander seeds, and peppercorns keep their flavor for years. Ground spices lose it after about 6 months.
My shortcut:
I keep dried herbs for cooking and fresh herbs for finishing. I only toast spices when I’m making something special or doing Sunday meal prep.
The exception:
Heartier fresh herbs like rosemary and thyme can handle longer cooking. But delicate herbs—basil, cilantro, parsley, dill, mint—always go on at the end.
Start here: Make your usual soup or sauce, but add fresh herbs only in the last minute. Notice the brightness.
Technique #7: Butter Makes Everything Better)
Hold on—butter in clean eating? Isn’t that breaking the rules? No!!
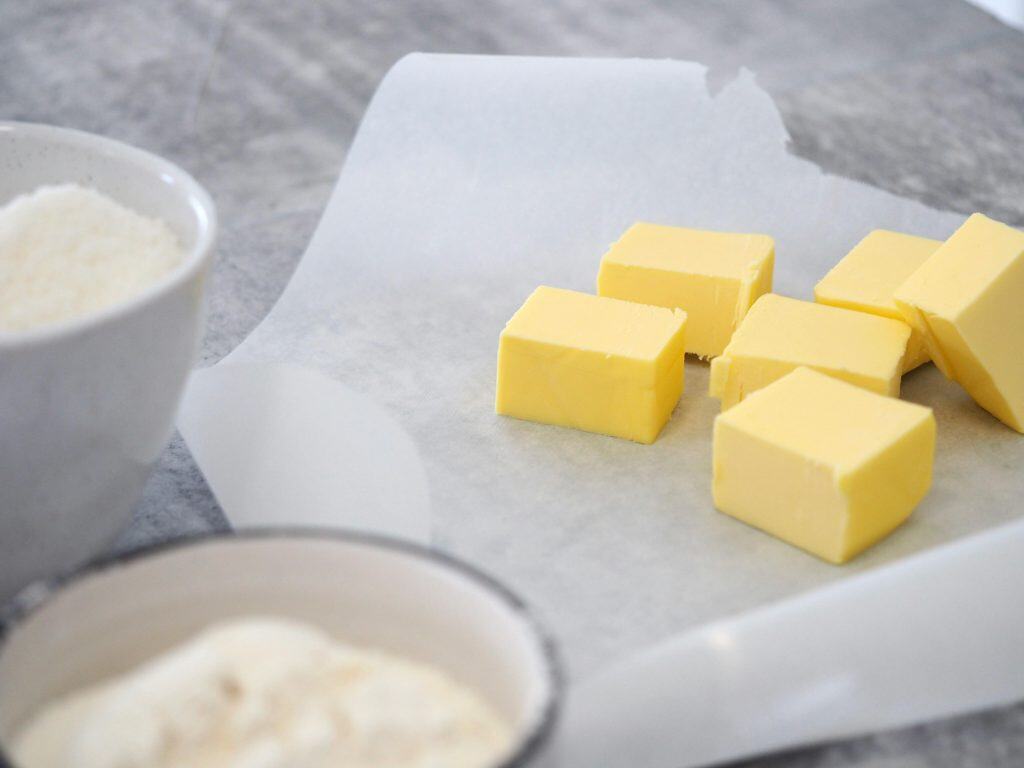
Here’s what I learned: clean eating isn’t about restriction. It’s about quality ingredients in reasonable amounts. A small amount of high-quality butter at the end of cooking adds this richness and mouthfeel that you just can’t get from other fats. I’m talking about grass-fed butter, ideally, as it’s got more omega-3s and a better nutrient profile than conventional butter (New Zealand is my favorite). You’ll actually stick with clean eating long-term.
Why butter matters:
Fat carries flavor. All those spices and seasonings we talked about? They’re fat-soluble. They taste better when there’s a little fat present.
Butter adds richness and satisfaction. A tablespoon of butter stirred into roasted vegetables or a piece of fish makes them taste complete. You feel satisfied instead of like you’re eating diet food.
Real butter is better than fake alternatives. I’d rather use a small amount of real butter than processed sprays or margarine.
How I use butter in clean eating:
Finish vegetables with a small pat. Roast your vegetables with olive oil, then toss them with a teaspoon of butter right before serving. The butter melts and coats everything with glossy, rich flavor.
Cook eggs in butter. One teaspoon of butter in a non-stick pan makes perfect scrambled eggs.
Add a pat to fish. After your fish is cooked, let a small piece of butter melt over the top. It creates a simple, elegant sauce.
The key: use it intentionally.
I’m not saying drown everything in butter. A small, strategic amount (usually 1 teaspoon to 1 tablespoon) makes a huge difference in satisfaction.
Real butter was always in our kitchen. It was treated as valuable, used in small amounts, and respected as a real ingredient. That’s how I use it now.
Start here: Toss your roasted vegetables with a teaspoon of butter right before serving. Notice how much more satisfying they taste.

Putting It All Together: A Real Meal
Let me show you how all seven techniques work together in one simple, clean-eating meal. This is my go-to Tuesday night dinner: roasted chicken thighs with vegetables.
Before I start cooking (Mise en place):
I get out my cutting board and sharp knife. I chop two bell peppers, one red onion, and a zucchini. I mince three garlic cloves. I measure out olive oil, salt, cumin, and lemon. Everything goes into separate little bowls.
My chicken thighs are already on a plate, salted 20 minutes ago.
Everything is ready before I turn on the oven.
While the oven preheats (Clean as you go):
I wash my cutting board and knife. I wipe down the counter. I put away the olive oil. My workspace is clear.
Cooking the vegetables:
I toss my chopped vegetables with olive oil on a sheet pan. I sprinkle them with salt—seasoning them right from the start, not at the end. I add dried oregano because it needs time to bloom.
Into the oven they go.
Cooking the chicken:
I heat my cast-iron skillet with a tiny bit of olive oil. I add my already-salted chicken thighs skin-side down. While they cook, I wash the plate they were on and the bowl I used for the vegetables.
My kitchen stays clean. No chaos.
Final touches:
The chicken is done (I check with my instant-read thermometer—165°F). I let a small pat of butter melt over the top.
The vegetables come out of the oven beautifully roasted. I squeeze fresh lemon juice over them—that hit of acid brightens everything.
If I had fresh parsley, I’d chop it now and sprinkle it over the top. Fresh herb at the end, not cooked in.
What I notice:
The vegetables are perfectly seasoned throughout because I salted them before roasting.
Everything tastes bright and interesting because of the lemon juice.
The chicken is incredibly satisfying because of that small amount of butter.
My kitchen is already mostly clean, so I can sit down and enjoy my meal.
And it all happened because of technique, not because of some complicated recipe.
This is clean eating that actually works:
Good ingredients treated with respect and proper technique. Nothing fancy. Nothing complicated. Just food that tastes so good you’ll want to eat this way forever.
Where to Start (Your Action Plan)
Don’t try to master all seven techniques at once. That’s overwhelming and unrealistic.
Instead, pick one technique that resonated with you and focus on it this week.
If you picked “keep your knife sharp”: Get your knife professionally sharpened this week. Notice how much easier prep becomes.
If you picked “mise en place”: Before you cook your next meal, prep everything first. See how much calmer you feel.
If you picked “clean as you go”: Start with just one habit: washing your cutting board while food cooks.
If you picked “salt throughout”: Add a pinch of salt to your vegetables when they hit the pan. Taste the difference.
If you picked “add acid”: Squeeze lemon over your roasted vegetables this week. Every time.
If you picked “herb timing”: Add dried herbs early in cooking, fresh herbs at the very end. Notice the brightness.
If you picked “butter”: Use a small pat of butter to finish one dish this week. See how much more satisfying it is.
After you get comfortable with one technique, add another. Then another.
In three months, you’ll be using all seven naturally, without even thinking about it.
Skills compound. Each small improvement builds on the last. You don’t need to be perfect. You just need to be consistently better than you were last week.
These techniques are your foundation. Master them, and you can cook anything.
Conclusion/Call-to-Action
Clean eating doesn’t have to mean bland food and kitchen chaos.
These seven techniques—sharp knives, organized prep, continuous cleaning, proper seasoning, bright acid, herb timing, and strategic fat—transform simple ingredients into meals you genuinely crave.
Start with one. Master it. Add another.
In a few months, you’ll cook differently. Better. More confidently. And your clean eating will finally taste as good as it makes you feel.
You don’t need fancy equipment or expensive ingredients. You just need to treat the good ingredients you have with proper technique.
That’s the real secret to sustainable clean eating: food that’s so delicious you never feel like you’re missing out.
Which technique are you trying first?