Essential Clean Eating Kitchen Tools: What You Actually Need
Introduction
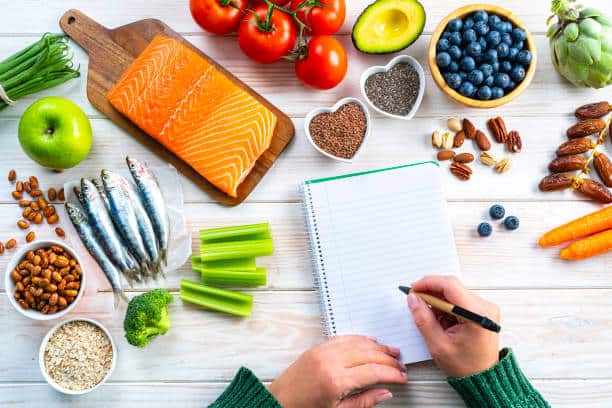
When I first started my clean eating journey, I thought I could just use whatever was already in my kitchen. Big mistake. Blog
Turns out, the tools you cook with matter just as much as the ingredients you’re cooking with, and I learned that lesson after ruining more meals than I care to admit.
I had a dull knife, mismatched containers, and no idea where to start. After 37 years as a nurse, I’ve learned that technique matters in everything. The way you hold a needle, the way you position a patient—small changes make huge differences. Cooking is the same.
Here’s what I learned: clean eating doesn’t require a fancy kitchen. But having the right basic tools? That changes everything.
I’m going to share the clean-eating kitchen essentials that actually make clean eating easier in real life. These aren’t fancy gadgets that’ll collect dust—these are the workhorses that help you prep whole foods efficiently and safely. The ones I use every single day.
Let’s make your kitchen work for you, not against you.
Why These Tools Matter
When I started my clean-eating journey, I tried to do everything with what I already had. And you know what? I lasted about three weeks before I got frustrated.
The problem wasn’t my commitment. It was that I was making everything harder than it needed to be.
Think about it this way: you wouldn’t try to fix your car with a butter knife, right? The same thing applies to clean eating. When you have tools designed for the job, everything flows better.
Here’s What the Right Tools Actually Do for You:
They save time. A good, sharp knife cuts your veggie prep time in half. A quality blender makes smoothies in 60 seconds, rather than 5 minutes of struggling with chunks.
They reduce waste. Proper storage containers keep your prepped food fresh longer. That means less money thrown away and more healthy options ready when you need them.
They make healthy choices easier. When your tools work well, you’re more likely to cook at home. When cooking feels like a battle with your equipment, that drive-through starts looking pretty appealing.
I’ve watched friends give up on clean eating because it felt too hard. But nine times out of ten, it wasn’t the eating plan that failed them. It was trying to do it without the right setup.
You don’t need a Pinterest-perfect kitchen. You don’t need professional chef equipment. But you do need tools that make the basics simple and stress-free.
Growing up in Vermont, I watched my mom prepare meals with just a few quality tools. She didn’t have fancy gadgets, but what she had worked. That’s the approach I’m sharing with you today—practical, affordable essentials that actually earn their spot in your kitchen.
As an Amazon Affiliate, I earn from qualifying purchases.
The 10 Essential Clean Eating Kitchen Tools
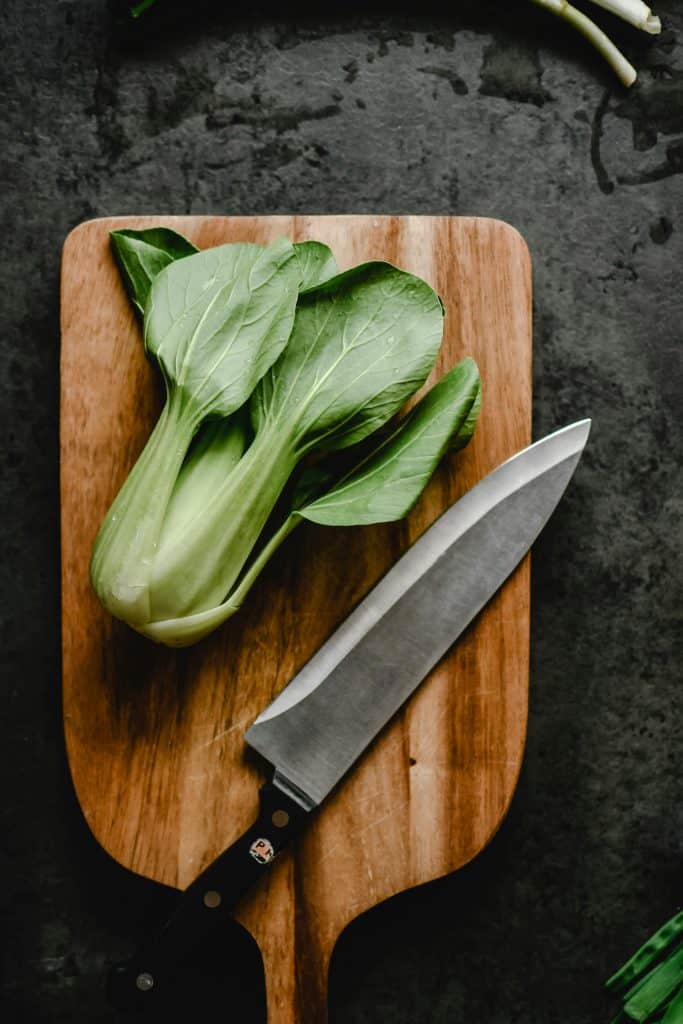
1. A Really Good Sharp Knife (Chef’s Knife, 8-inch)
This is hands-down the most important tool in your kitchen. I’m not talking about a $200 fancy knife. I’m talking about a decent quality chef’s knife that you keep sharp.
Why you need it:
I spent years fighting with a dull knife, crushing tomatoes instead of slicing them, struggling through onions that made me cry twice as much as they should. I thought that was just how cooking was.
Then I got my knife professionally sharpened. The first time I cut through a bell pepper with zero resistance, I literally laughed out loud. It was that dramatic.
Dull knives make cutting vegetables feel like work. A sharp knife glides through produce, making meal prep actually enjoyable instead of a chore.
What I use: I have a Tojiro Classic 8-inch (180mm) chef’s knife that’s been my workhorse for eight years (a gift from my son), and a Tojiro 3.5-inch (90mm) paring knife. They are the same knives professional kitchens use, cost between $80 and $130, and are worth every dime. I get it professionally sharpened once or twice a year.
Beginner tip: Start with one good knife instead of a whole set. You’ll use this knife for 90% of your cutting tasks. And please—never put your good knife in the dishwasher.
Price range: $60 for quality that lasts
2. Large Cutting Board (Wood or Plastic)
You need space to work. Those tiny cutting boards make everything cramped and frustrating.
Why you need it:
Here’s where I messed up initially: I was using this old plastic cutting board that had grooves so deep you could practically plant seeds in them. Those grooves harbor bacteria like crazy, and when you’re prepping fresh produce for clean eating, that’s the last thing you want.
A big cutting board gives you room to chop multiple vegetables at once without things rolling onto the floor. Trust me, I learned this the hard way.
What I use: I switched to a Royal Craft bamboo cutting board night and day. There are many wood choices (maple, bamboo, walnut, cherry, and teak). Choose one in your price range – know that bamboo is hard, low maintenance, eco-friendly, and it’s prone to warping. It can also dull your knife quickly. I would recommend maple, walnut, or cherry. I also have a large Farberware plastic cutting board (dishwasher safe!) for everyday use.
Get yourself at least two—one for produce and one for any proteins you’re working with. Cross-contamination is real, folks.
Beginner tip: Get one that’s at least 12×18 inches. Bigger is better here.
Price range: $5-35
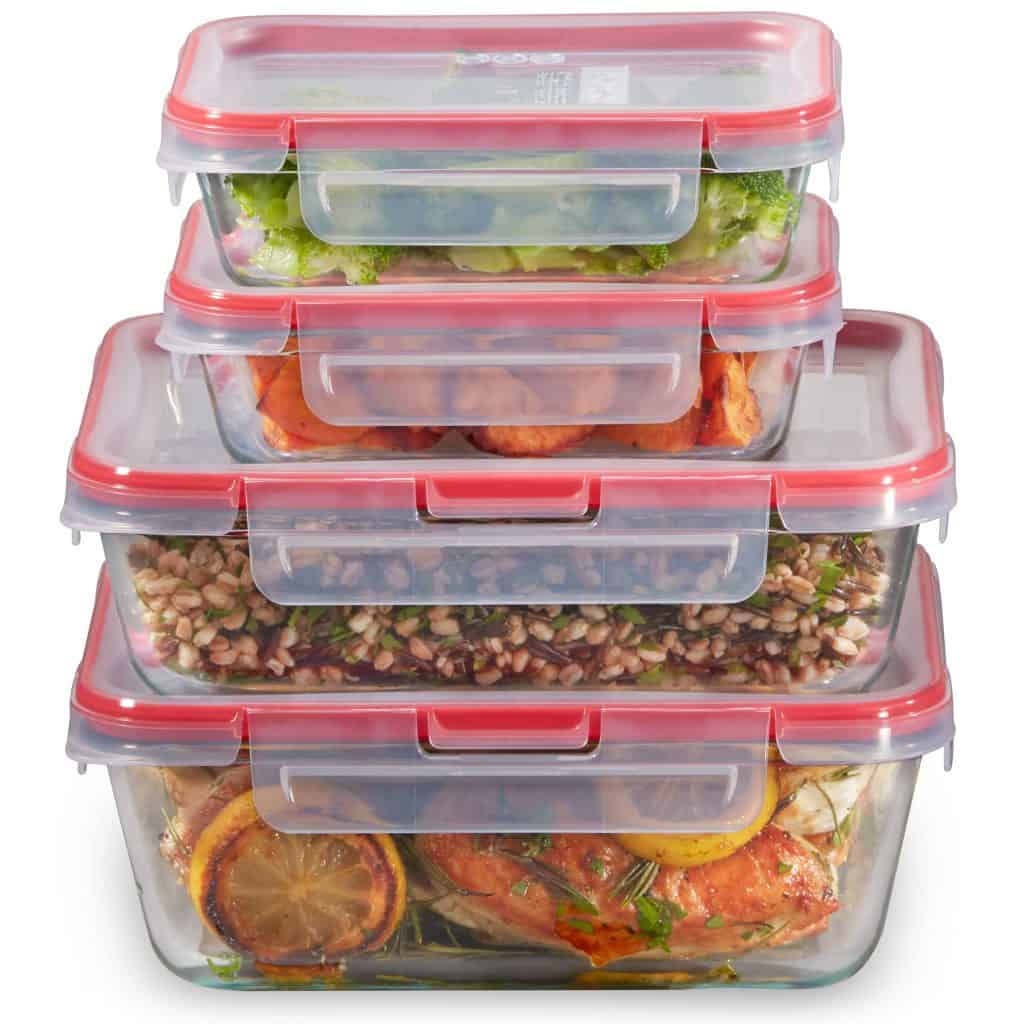
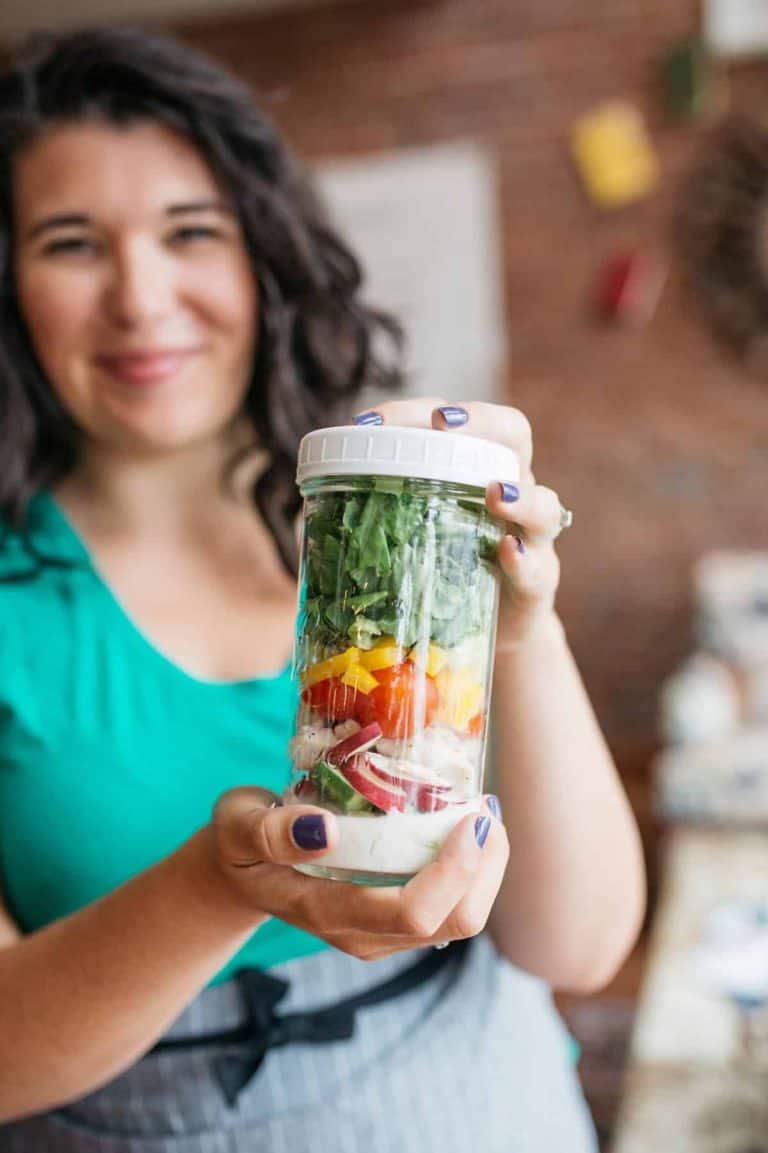
3. Glass Meal Prep Containers with Locking Lids (Set of 10-12)
This was the game-changer for me. Seriously. Having ready-to-eat clean meals in the fridge kept me on track more than anything else. https://kelliannscheibe.com/container-method-best-meal-prep-clean-eating
Why you need them:
Glass doesn’t stain, doesn’t hold smells, and you can see what’s inside without opening every container. The locking lids mean no spills in your bag.
After trying several brands, I settled on containers with locking lids that haven’t failed me once in two years. They’re truly airtight, and they stack perfectly in my fridge.
What I use: I have about 20 containers in various sizes. I use the big ones for full meals and the smaller ones for snacks and dressings. (Amazon link to blog article)
Beginner tip: Get different sizes. You’ll use them all.
Price range: $25-45 for a complete set
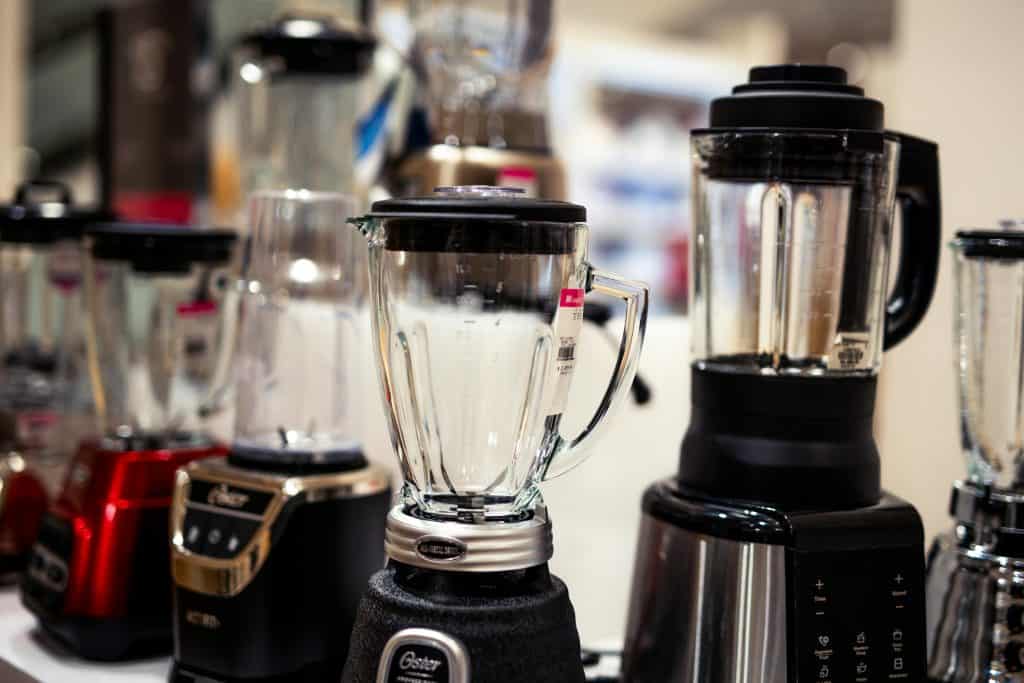
4. Quality Blender (High-Speed)
I resisted buying a good blender for way too long. I kept using my cheap one that left chunks in everything. When I finally upgraded, I wanted to kick myself for waiting.
Why you need it:
Smoothies, homemade dressings, soups, and sauces—a good blender handles it all. Clean eating involves a lot of whole foods, and a blender makes them easier to incorporate. https://kelliannscheibe.com/how-to-make-clean-eating-smoothies
What I use: I have a Ninja Professional blender that’s been going strong for a decade. It’s not a Vitamix (those are $400+), but it’s powerful enough to pulverize frozen berries and leafy greens smoothly.
Beginner tip: You don’t need the most expensive model, but don’t go with the $20 option either. Aim for the middle ground.
Price range: $80-150 for solid performance
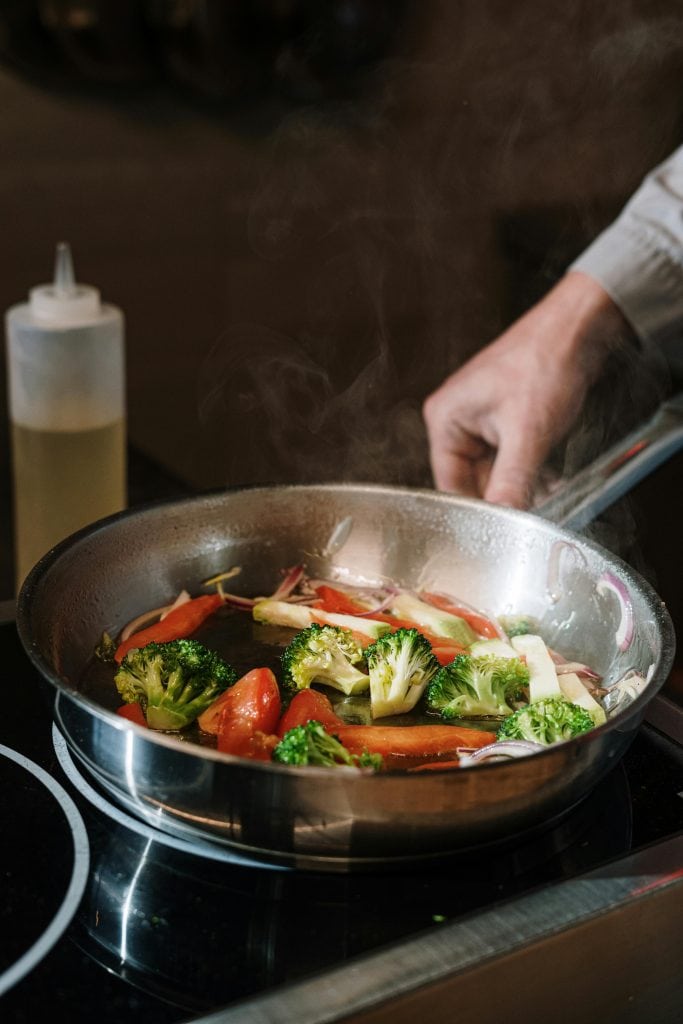
5. The Great Pan Situation: Stainless Steel AND Nonstick
This is where things get real. You need both, but not all nonstick is created equal.
Stainless steel pan (10-12 inch):
My stainless steel pan is my workhorse. I use it for searing proteins, sautéing vegetables, and basically anything that needs high heat.
Yeah, food sticks to it sometimes—that’s actually normal, and you get better at managing it with practice. The trick is getting the pan properly heated and using enough healthy fat (I use avocado oil or ghee). Those brown bits that stick? That’s called fond, and it makes incredible pan sauces when you deglaze with some bone broth or white wine.
Nonstick pan (10-12 inch):
For nonstick, this is critical: skip anything with traditional Teflon or PFOA coatings. I made the mistake of buying a cheap nonstick pan set early on, and when I learned about PFAS (those “forever chemicals”), I literally threw them out the same day.
Now I use Circulon nonstick pans for delicate items like eggs or fish. They’re not perfect—the coating wears out faster than I’d like—but they don’t release toxic fumes if you accidentally overheat them. Just keep the heat on medium or below, and don’t use metal utensils on them. (Amazon Link)
My goal is to switch to ceramic pans – they are a bit pricey (more to come).
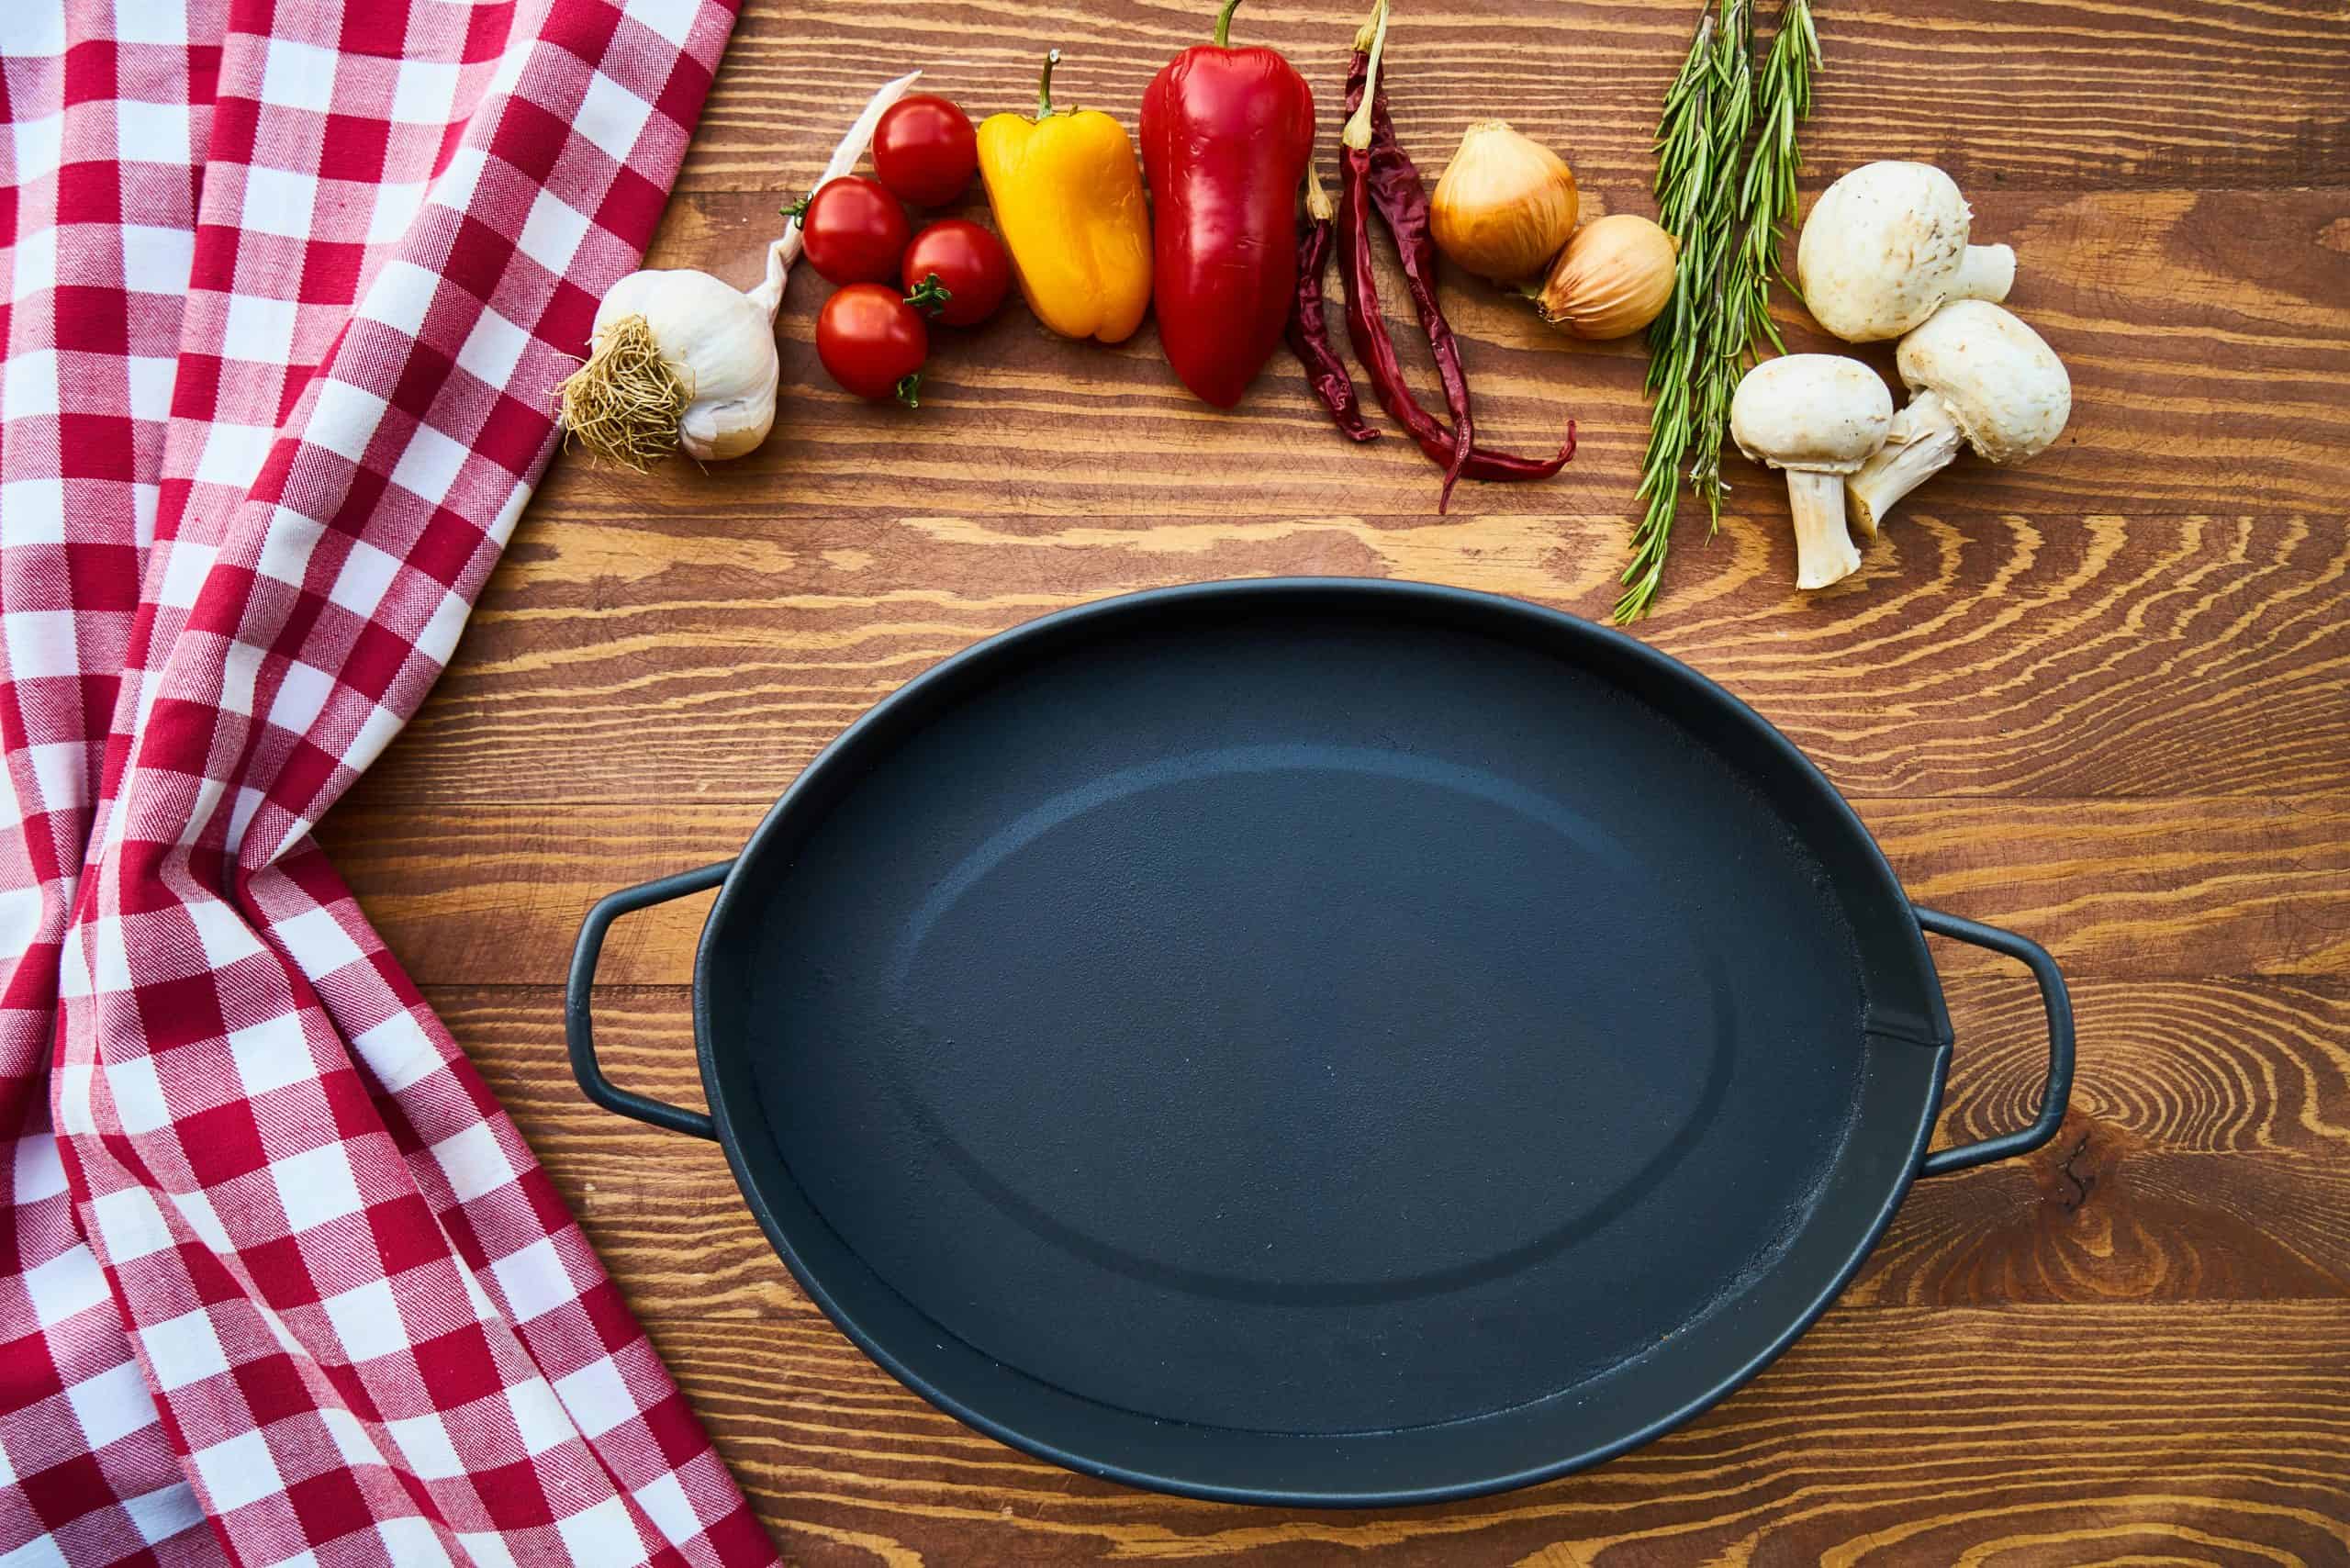
Alternative: Cast iron
If I could only have one pan, I’d choose cast iron. It’s naturally nonstick once seasoned, adds iron to your food, and lasts forever with basic care. Just wash by hand, dry completely, and add a thin layer of oil. Takes 30 seconds.
Beginner tip: Start with either a stainless steel or cast iron skillet, then add a ceramic nonstick later.
Price range: $35-70 each
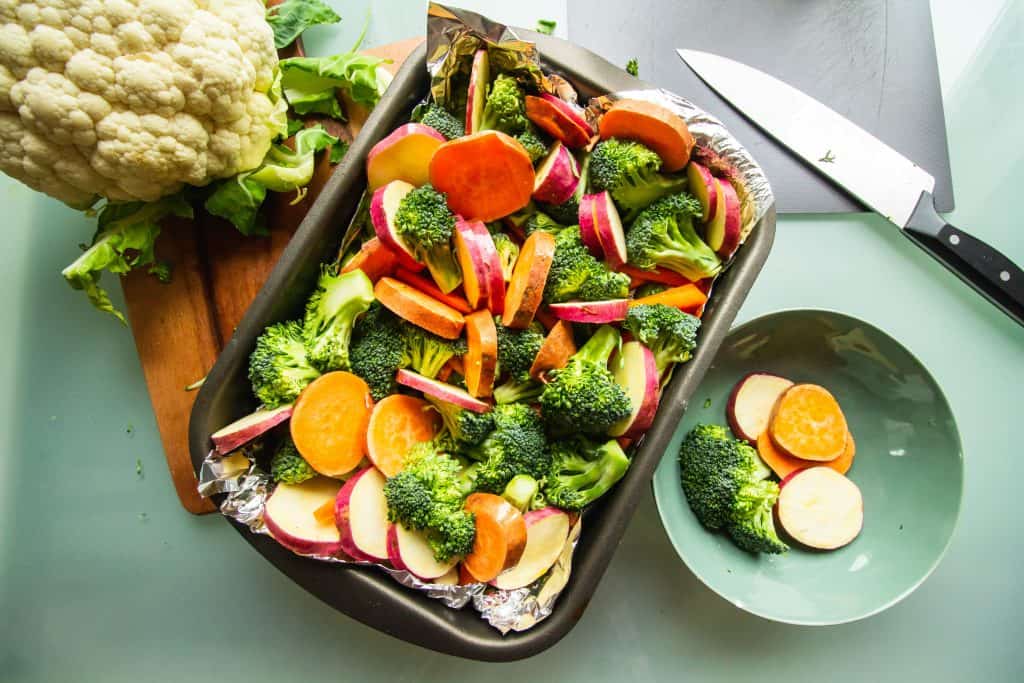
6. Sheet Pans – Aluminum AND Stone (2-3 pans total)
Sheet pan dinners saved me on countless busy evenings. Everything cooks at once, with minimal cleanup.
Why you need them:
Roasting vegetables is one of the easiest clean-eating cooking methods. You want aluminum ones without a nonstick coating because those coatings can release chemicals when they get scratched up or heated too high.
What I use:
I have both Nordic Ware aluminum half-sheet pans (the 18×13 inch ones) and a Pampered Chef stone baking sheet. The aluminum pans are my everyday workhorses—they heat quickly and are easy to clean.
My Pampered Chef stone pan is amazing for roasting vegetables because it distributes heat so evenly. The veggies come out perfectly caramelized every time. It’s still my go-to for the last 20 years.
The difference: Stone pans (also called pizza stones or baking stones) retain heat better than metal, which means better browning. They’re heavier and take longer to heat up, but the results are worth it. Aluminum pans are lighter, faster to heat, and easier to store.
Beginner tip: Start with two aluminum half-sheet pans for versatility. Add a stone pan later when you want to level up your roasted vegetable game. If you get stone, let it preheat in the oven for the best results.
Pair aluminum pans with a cooling rack that fits inside, and suddenly you can roast vegetables with air circulation on all sides. They get crispy instead of soggy.
Price range:
- Aluminum: $15-20 each
- Stone: $45-100 each
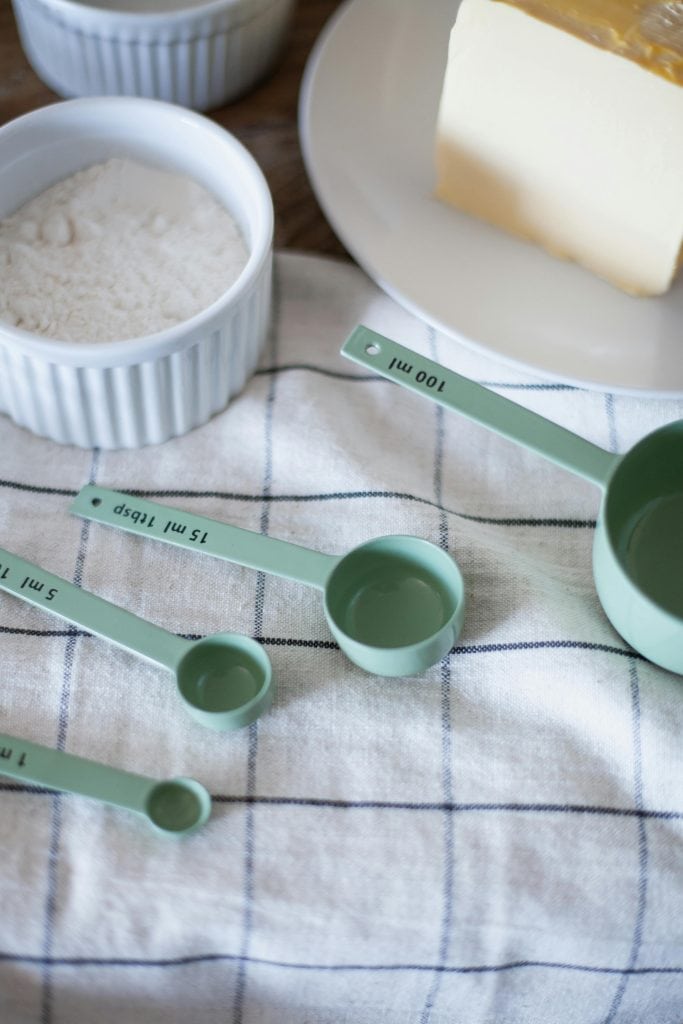
7. Measuring Cups and Spoons
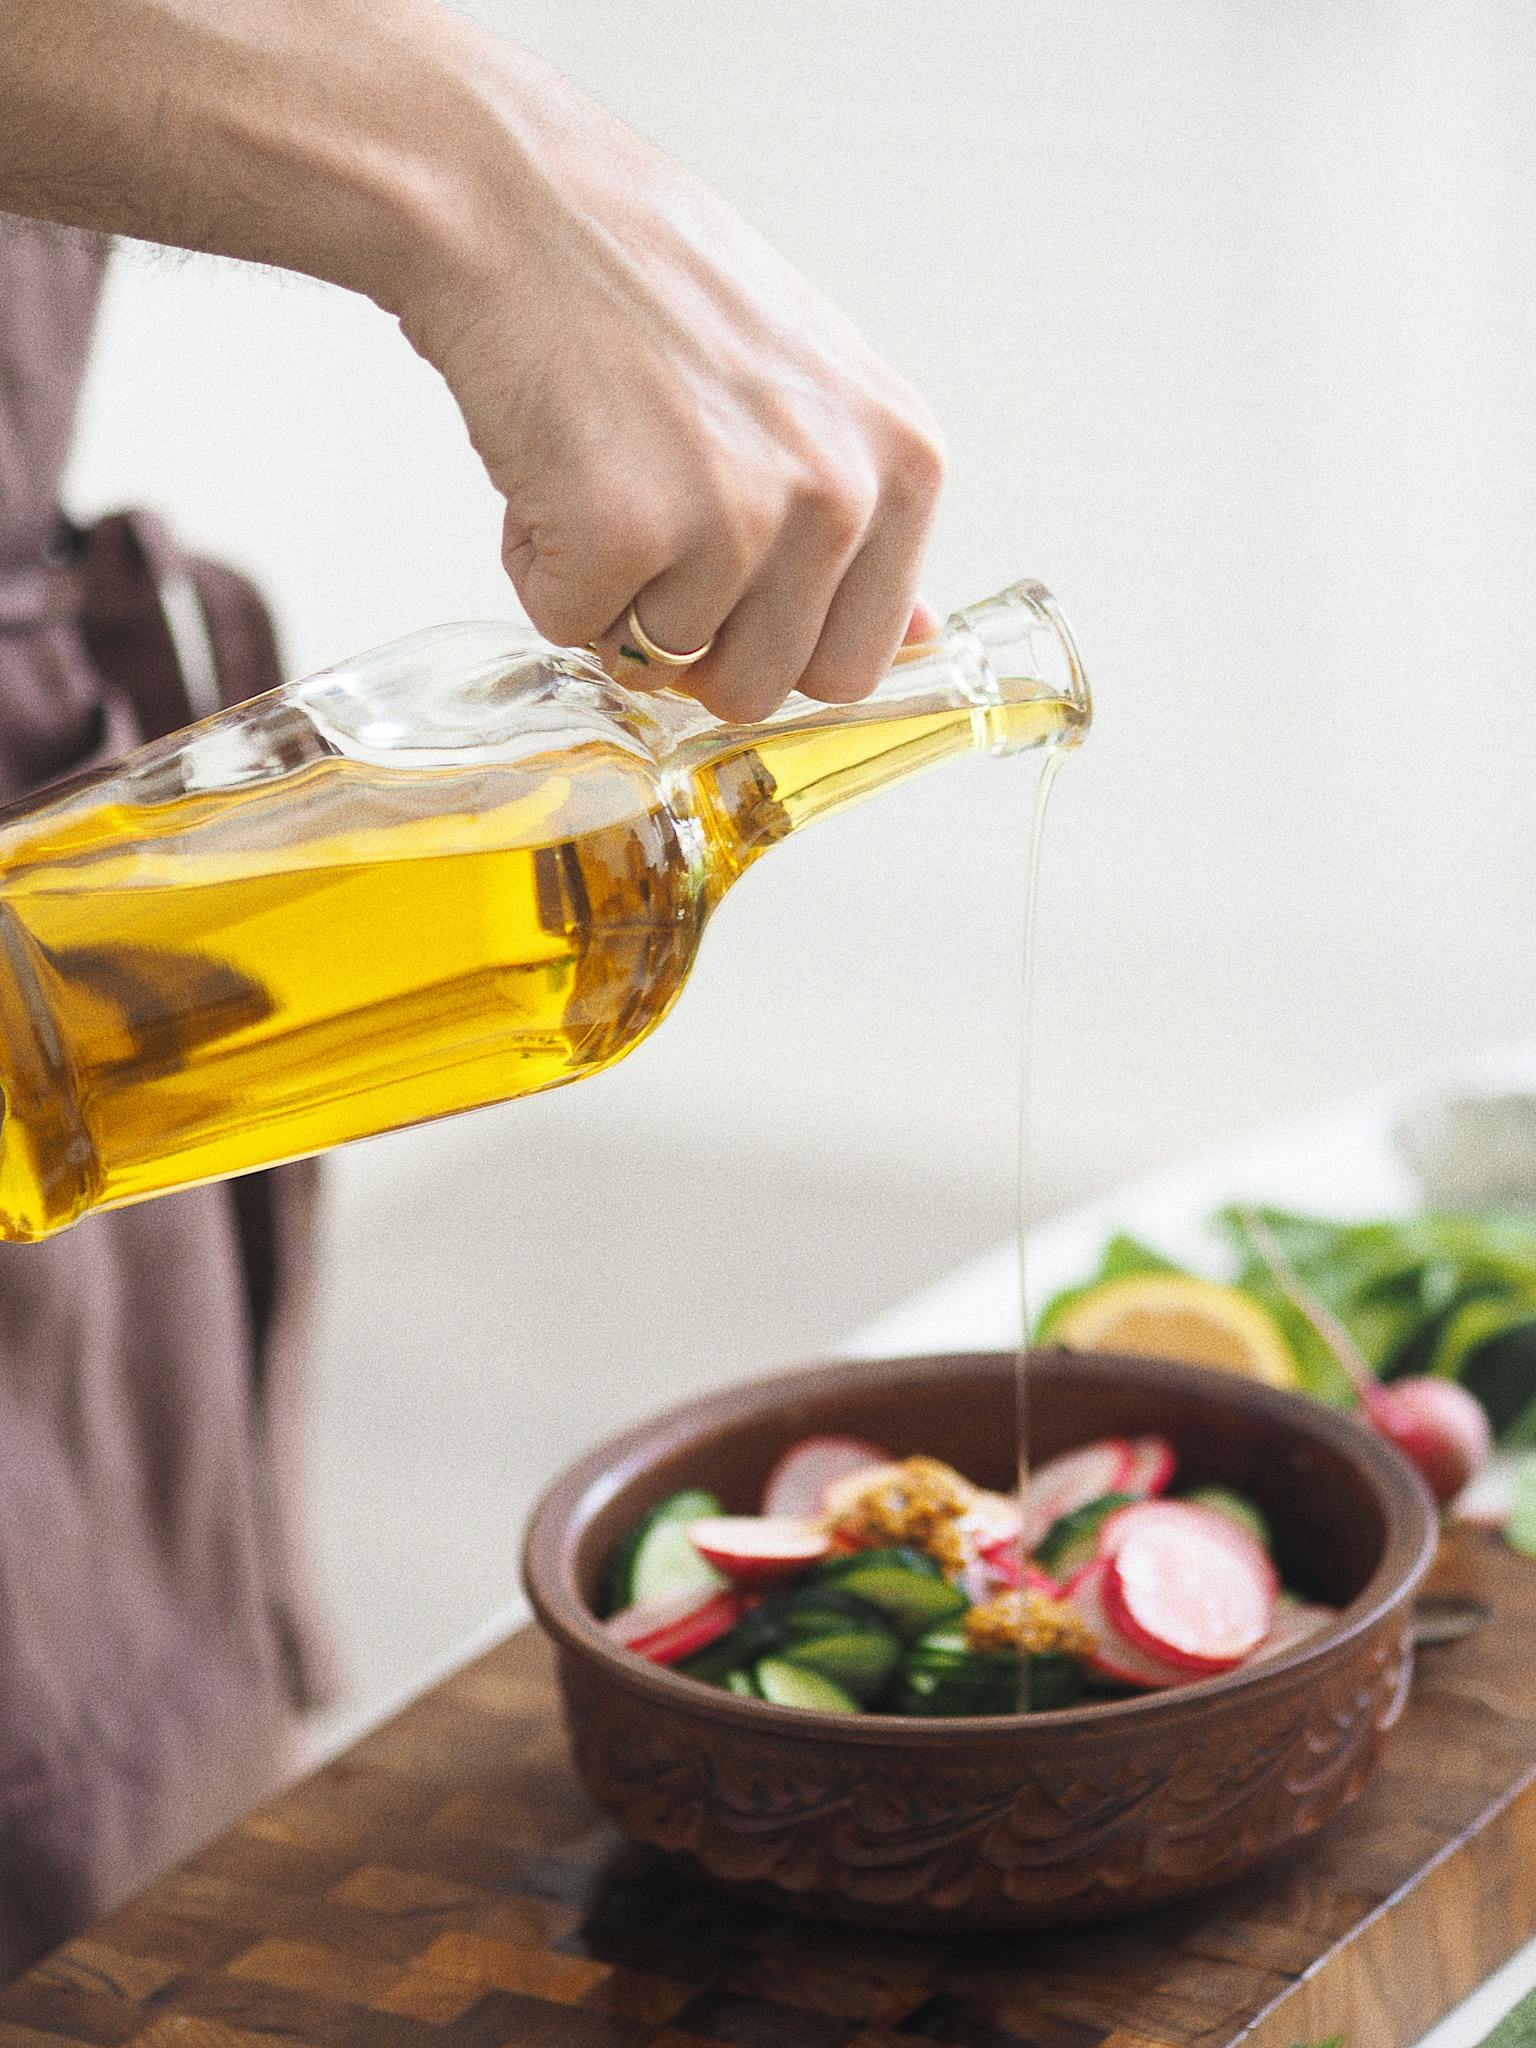
When you’re starting clean eating, portions matter. Eyeballing measurements is how I accidentally used way too much olive oil for months.
Why you need them: Accurate measurements help you understand proper portions. Once you get the hang of it, you can eyeball more. But in the beginning, measure.
What I use: I have both dry and liquid measuring cups, plus two sets of measuring spoons. I have a plastic set and a metal set. Nothing fancy.
Beginner tip: Get a set that nests together for easy storage. I love my Spring Chef stainless steel magnetic measuring spoons. They have US and metric measurement markings: dual-sided, with the oval end narrow to fit in most spice jars. I also have a Spring Chef magnetic stainless steel measuring cup with colored handles (to help differentiate sizes).
Price range: $15-30 for a complete set
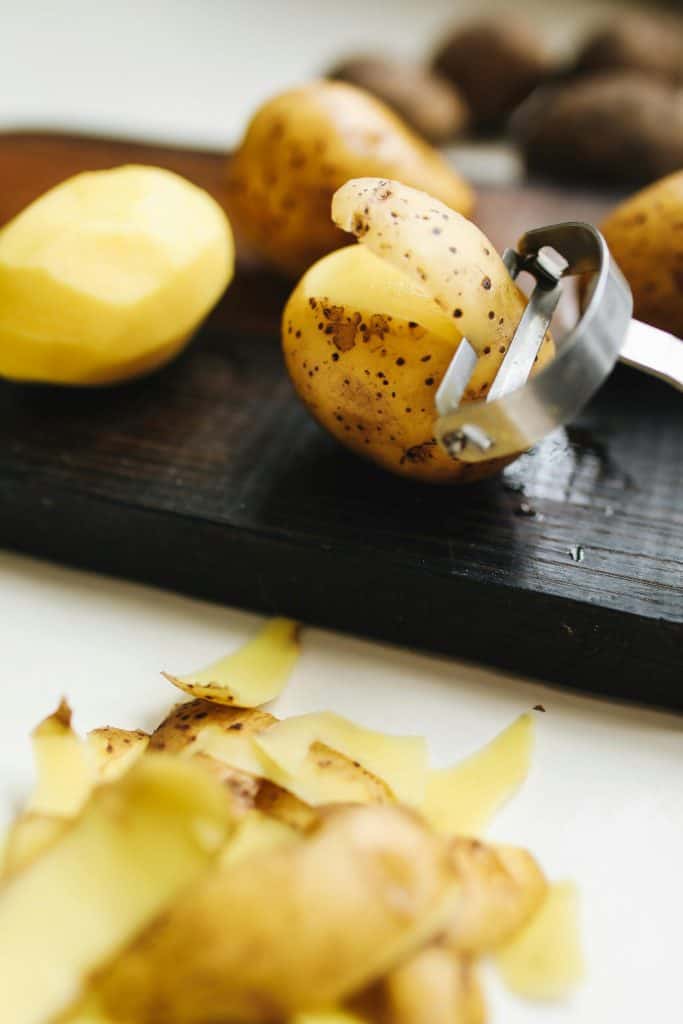
8. Vegetable Peeler
This seems basic, but a good peeler makes such a difference. I used a terrible one for years and thought I just hated peeling vegetables.
Why you need it: Clean eating means more fresh vegetables. A smooth peeler that works makes prep faster and less frustrating.
What I use: I have a Pampered Chef peeler with a metal grip, similar to the Linden Sweden peeler. Nothing fancy and works just fine for me. I’m about to purchase a Y-shaped peeler with a comfortable grip, since everyone raves about its functionality and comfort.
Beginner tip: Test the grip in the store if you can. Comfort matters when you’re peeling a pile of carrots.
Price range: $8-15
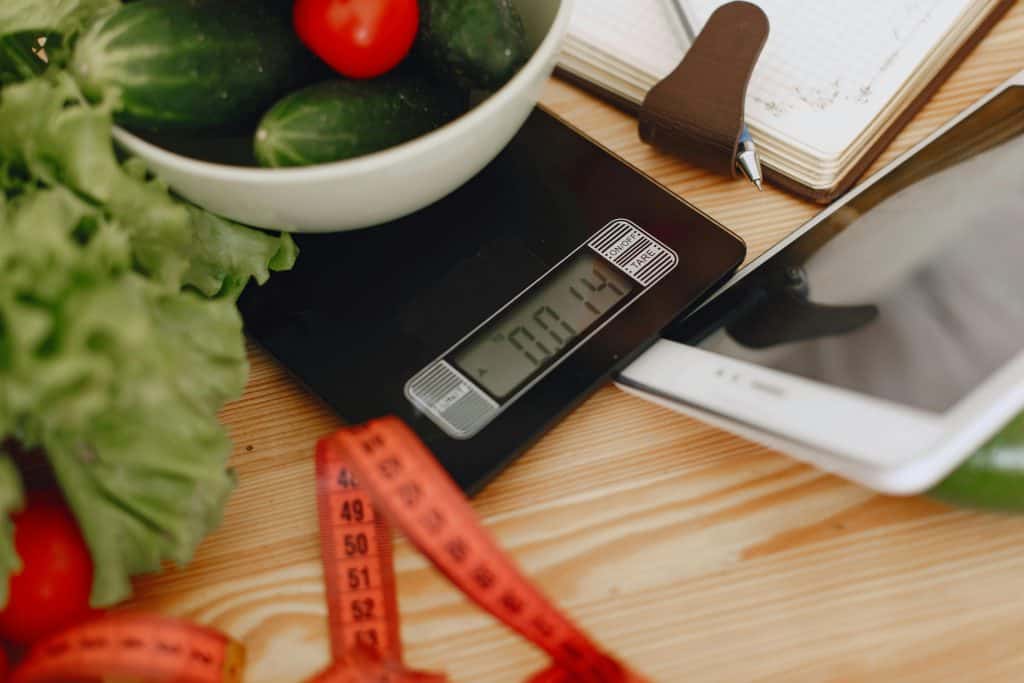
9. Food Scale (Digital)
This was huge for my portion awareness. I was shocked when I actually weighed what I thought was “a serving” of nuts.
Why you need it:
A digital kitchen scale isn’t about restriction—it’s about awareness. When you’re learning what proper portions look like, weighing your food helps you understand serving sizes without guessing.
Especially for calorie-dense healthy foods like nuts, seeds, and oils, a scale helps you understand true portions. It’s educational, not restrictive.
What I use: An Ultrean simple digital scale that measures in ounces and grams. It lives on my counter. I use it mostly for baking sourdough now (way more accurate than cup measurements), but it was super helpful early on.
Beginner tip: Use it for two weeks to calibrate your eye. Then you can put it away and pull it out when needed. Get one with a tare function so you can zero out the weight of your bowl.
Price range: $10-25

10. Quality Colander or Strainer
The number of times I’ve rinsed berries in a bowl and watched half of them float away… it’s embarrassing.
Why you need it: Washing produce, draining pasta, rinsing beans—a sturdy colander handles it all.
What I use: An Oxo stainless steel colander with a stable base. It sits firmly in my sink and doesn’t tip over.
Beginner tip: Get one with small holes so you can rinse quinoa and small grains too.
Price range: $15-30
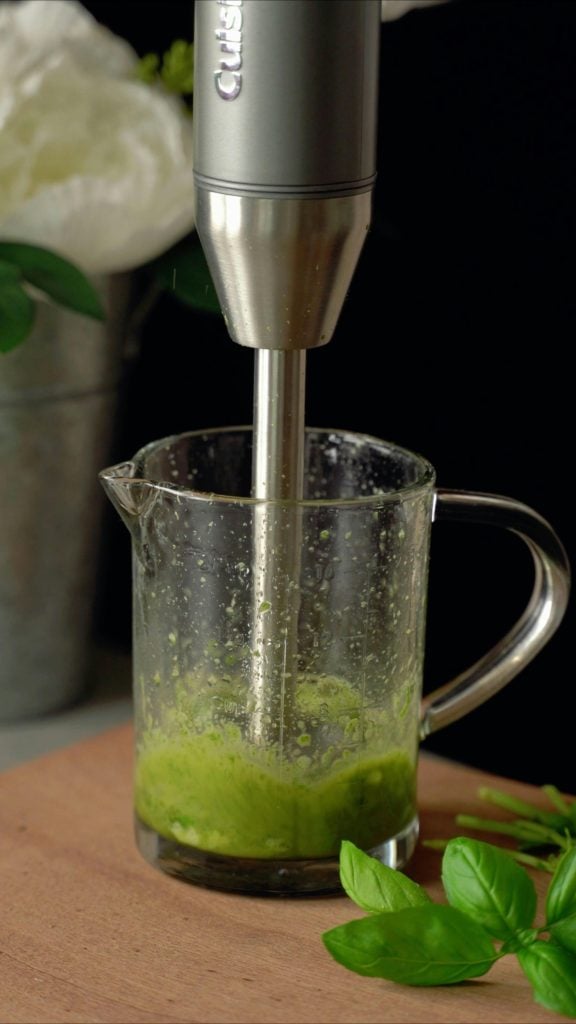
Optional but Life-Changing – Immersion Blender
I added this to my kitchen about a few years ago, into clean eating, and I use it mostly during the winter months for making soups.
Why you need it: Makes creamy soups right in the pot, blends sauces, and purees vegetables. No pouring hot liquid into a blender.
What I use: A Koios immersion blender with a whisk and frother attachment. Simple and effective.
Beginner tip: This is an “upgrade” tool. Start with the essentials first, then add this when you’re ready.
Price range: $25-50
Nice-To-Have Tools (Level Up Your Kitchen)
Once you’ve got the basics covered, these three tools can make certain tasks even easier. I didn’t start with any of these, but I added them over time and I’m glad I did.
Parchment Paper
Look, I resisted parchment paper for way too long because I thought it was wasteful. But here’s the thing—it eliminates the need for cooking sprays (which often contain additives and propellants you don’t want), and cleanup takes like 30 seconds instead of 20 minutes of scrubbing.
Why it’s helpful: Line your sheet pans with parchment paper and cleanup becomes almost effortless. No scrubbing stuck-on vegetables or oil residue. Plus, food doesn’t stick, which means you can use less oil.
What I use: I buy unbleached parchment paper in pre-cut sheets that fit standard half-sheet pans. So much easier than wrestling with a roll.
When to use it: Roasting vegetables, baking chicken or fish, anything that might stick or leave a mess.
Beginner tip: Don’t confuse parchment paper with wax paper. Wax paper will smoke and melt in the oven. Parchment paper is oven-safe up to 425-450°F.
Price range: $8-15 for a box of 100 sheets
Do you need it? Not essential, but it makes life easier. I use it 3-4 times a week.

Mandoline Slicer
Okay, real talk—I’ve cut myself on my mandoline slicer more times than I’d like to admit. Those blades are seriously sharp. But when you need uniform vegetable slices, nothing works faster.
Why it’s helpful: A mandoline slices vegetables uniformly, which means they cook evenly. It’s perfect for making veggie chips, thin cucumber slices for salads, or evenly sliced sweet potatoes. What would take me 10 minutes with a knife takes 2 minutes with a mandoline.
What I use: A simple handheld mandoline with an adjustable blade and a hand guard. The hand guard is non-negotiable—this blade is seriously sharp.
When to use it: Salads with paper-thin vegetables, sweet potato chips, zucchini ribbons, uniform slices for gratins or roasted vegetables.
Safety note: Always, always, always use the hand guard. Once you get comfortable, it’s safe and incredibly useful.
Beginner tip: Start with firmer vegetables like cucumbers or carrots to practice. Save tomatoes for when you’re more confident.
Price range: $15-35 for a quality handheld version
Do you need it? Only if you regularly want uniform thin slices. A good knife works fine otherwise.
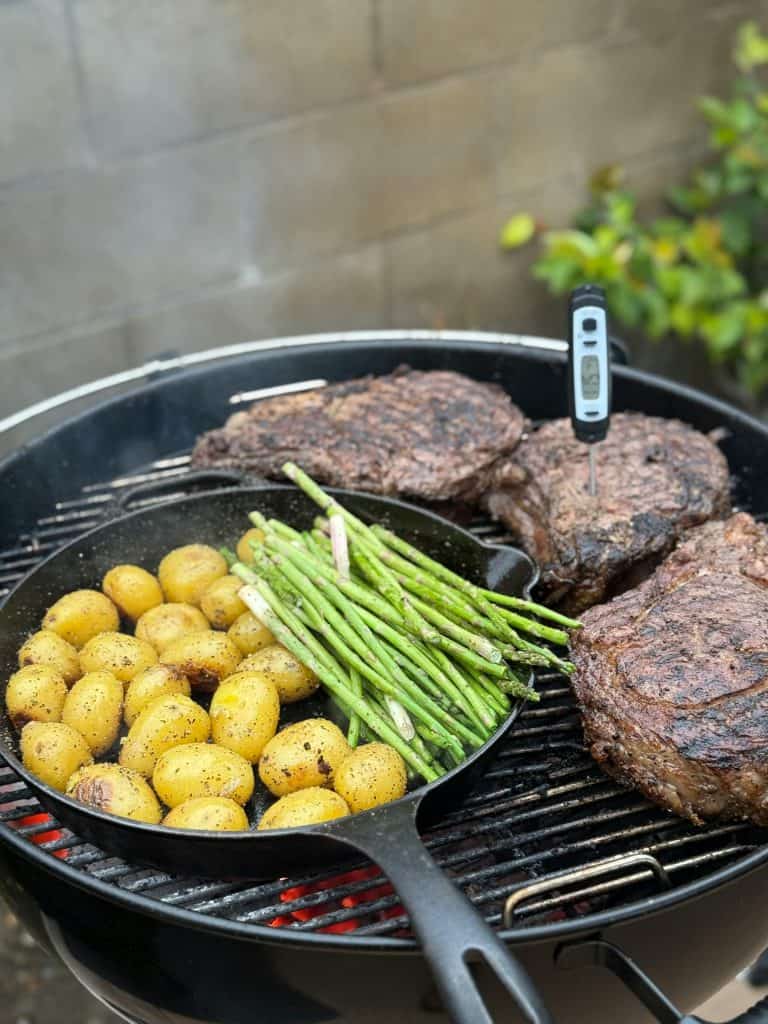
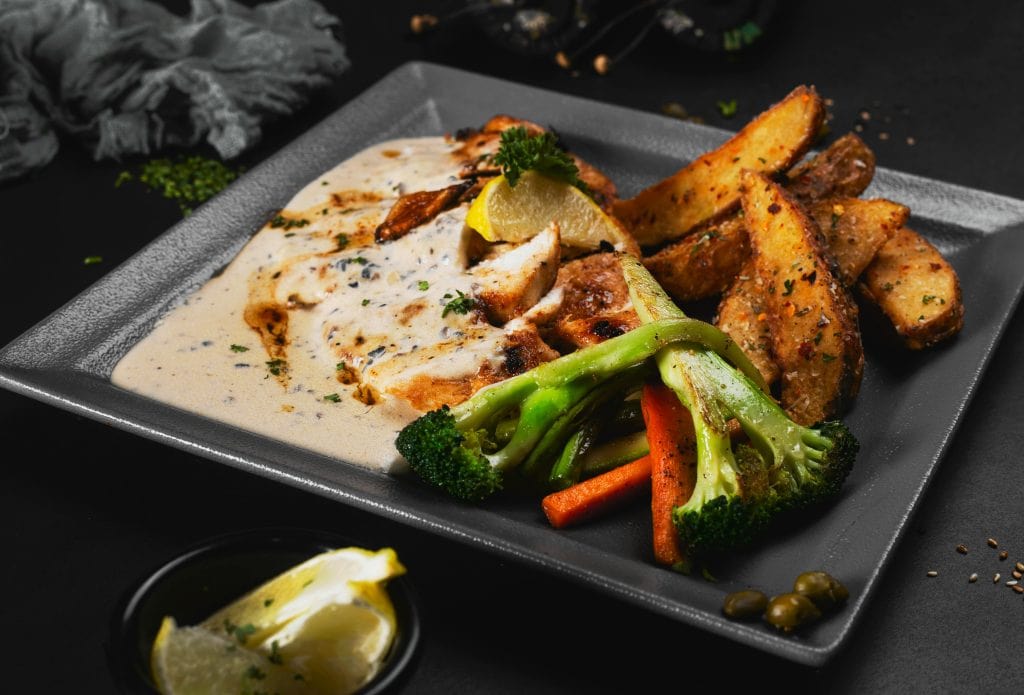
Instant-Read Thermometer
If you’re eating any kind of animal protein as part of your clean eating plan, you need this.
Why it’s helpful:
I used to just guess when chicken was done, which meant I either dried it out completely or worried I was gonna get food poisoning. Neither option is great.
No more cutting into chicken to check if it’s done (which lets all the juices run out). No more dry, overcooked fish because you played it safe. A digital meat thermometer takes the guesswork out. You can actually keep your proteins juicy instead of turning them into hockey pucks.
What I use: A ThermPro digital instant-read thermometer that gives a reading in about 3 seconds. I keep it in my utensil drawer and grab it whenever I cook meat or fish.
The magic numbers:
- Chicken: 165°F
- Pork: 145°F
- Fish: 145°F (but I actually pull salmon at 135°F for medium)
- Ground meat: 160°F
Beginner tip: Insert the thermometer into the thickest part of the meat, away from bone. Wait a few seconds for an accurate reading.
Price range: $12-25 for a reliable digital version
Do you need it? If you cook meat regularly and struggle with doneness, yes. If you’re plant-based or very confident in your cooking, you can skip it.
My honest take on these three tools: I lived without them for my few years of clean eating. When I finally got them, I wondered why I waited. But they’re definitely “nice-to-have” not “must-have.” Get your essential tools first, then add these when you’re ready to make certain tasks easier.
What You DON’T Need (Save Your Money)
Let me save you some money and cabinet space. Here are things marketed to clean eaters that you probably don’t need:
Spiralizer: Unless you genuinely love zucchini noodles multiple times a week, this will collect dust. I have an attachment for my Kitchen Aid Mixer and use it on occasion. A mandoline or even a regular peeler does the job for occasional veggie ribbons.
Fancy juicer: Juicing removes fiber, which is actually something you want to keep. A blender makes more sense for clean eating because you get the whole fruit or vegetable.
Gadget for every vegetable: You don’t need an avocado slicer, a strawberry huller, an egg separator, or a specialized citrus press. Your knife and hands work fine for everything.
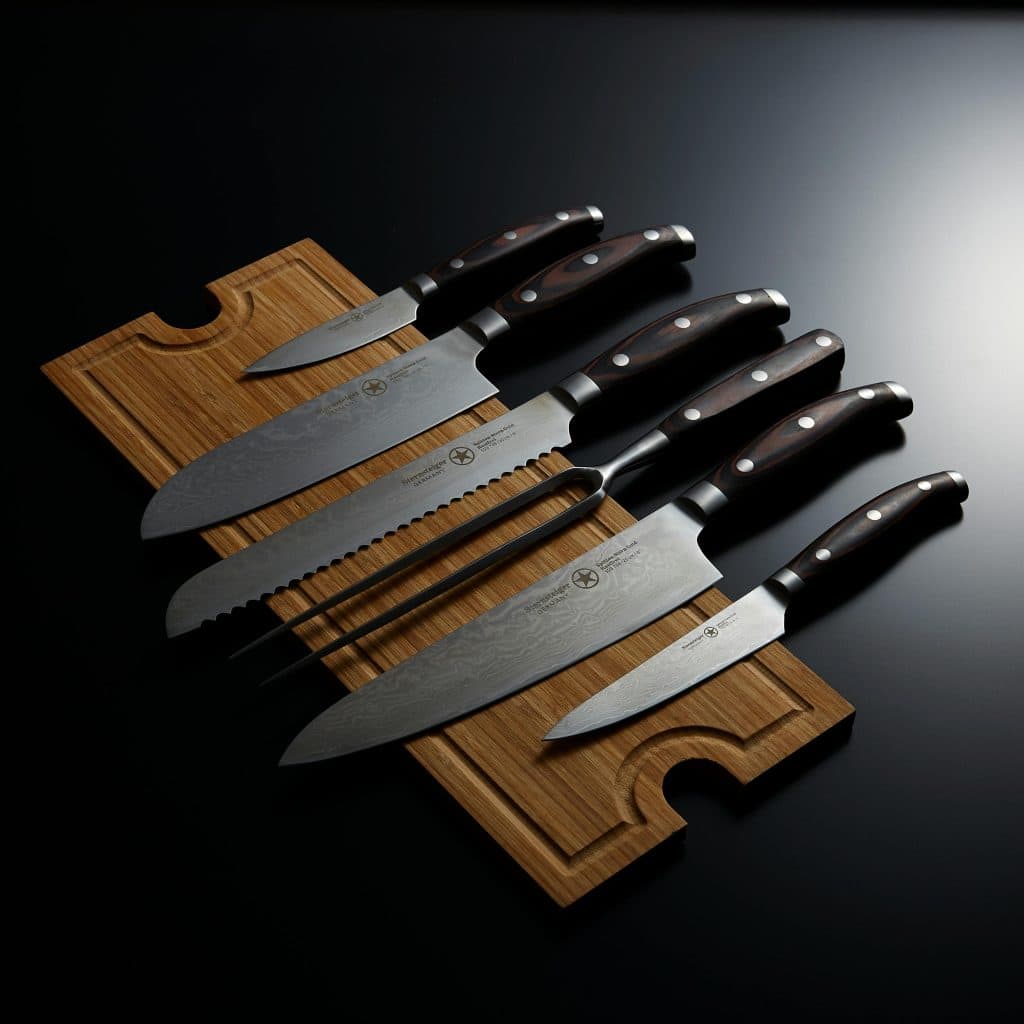
Complete knife set: You’ll use the chef’s knife and a paring knife. The rest just take up drawer space. That fancy 14-piece block? You’ll use 2 of those knives regularly.
Expensive food processor: If you’re just starting out, your blender can handle most tasks. Wait to see if you actually need a processor before investing $100+. I still don’t own one and I’m doing fine.
Silicone baking mats: Parchment paper does the same job for less money and no storage space. Unless you bake constantly, skip these.
Air fryer: Controversial opinion, I know! But your oven with a sheet pan does the same thing. If you have limited counter space, your oven is more versatile. I LOVE my Ninja Speedi (air fryer and pressure cooker all in one). I cook everything from home fries to pot roasts.
Salad Spinner: Wet lettuce makes sad, soggy salads. A salad spinner dries your greens in 30 seconds. Dry greens also last longer in the fridge. Wash and spin a whole week’s worth of lettuce at once. Store it in the spinner bowl with a paper towel.
I learned this through trial and error—meaning I wasted money on things that seemed essential but weren’t. The goal is to make clean eating sustainable, not to turn your kitchen into a showroom. Every tool should earn its spot by making your life easier.
How To Build Your Kitchen on a Budget
You don’t need to buy everything at once. Here’s how I’d prioritize if you’re starting from scratch https://kelliannscheibe.com/container-method-best-meal-prep-clean-eating:
Week 1: The Must-Haves ($100-150)
- Sharp chef’s knife
- Cutting board
- Stainless steel or cast-iron skillet
- Measuring cups and spoons
These four tools let you start cooking clean meals immediately.
Week 2-3: Storage Solutions ($50-75)
- Vegetable Peeler
- Meal prep containers (set of 10)
- Sheet Pans
- Parchment Paper
Now you can prep ahead and store properly.
Month 2: Efficiency Upgrades ($130-180)
- Quality blender
- Large Colander
These make everything faster and easier.
Month 3: Essentials Completion ($50-75)
- Food scale
- Stone baking sheet (optional upgrade)
Month 4+: Nice-to-Haves ($40-75)
- Instant-read thermometer
- Immersion blender (optional)
- Mandoline slicer (optional)
By spreading out your purchases, you avoid sticker shock and can actually learn which tools you use most.
Budget-friendly shopping tips I’ve learned:
- Restaurant supply stores have professional quality at lower prices
- Buy knives and cutting boards new, but containers and mixing bowls work fine secondhand
- Watch for holiday sales on blenders (they’re always discounted around Black Friday)
- Amazon Basics and store brands often match name-brand quality for less
- Stone baking sheets sometimes go on sale at HomeGoods or TJ Maxx for half the price
I built my clean-eating kitchen gradually over about six months. It didn’t strain my budget, and I avoided buying things I didn’t actually need.
Real-Life Kitchen Setup
Let me show you what my actual daily routine looks like with these tools.
Sunday meal prep:
I pull out my big cutting board and sharp knife. I chop vegetables for the whole week—bell peppers, cucumbers, carrots, and celery. Into the glass containers they go.
I use my sheet pans to roast two trays of vegetables at once. While those cook, I wash lettuce in my salad spinner and store it ready to use.
My blender makes a week’s worth of smoothie base—I portion it into containers and freeze it.
Total time: about 90 minutes. And, because I have the right tools, it’s not stressful. Everything flows.
Weekday cooking:
My skillet cooks dinner most nights. Quick proteins, sautéed vegetables, simple one-pan meals. My immersion blender turns leftover roasted vegetables into soup in five minutes.
The measuring cups helped me learn portions, but now I mostly eyeball things. The food scale comes out when I’m trying a new recipe or need to be more precise.
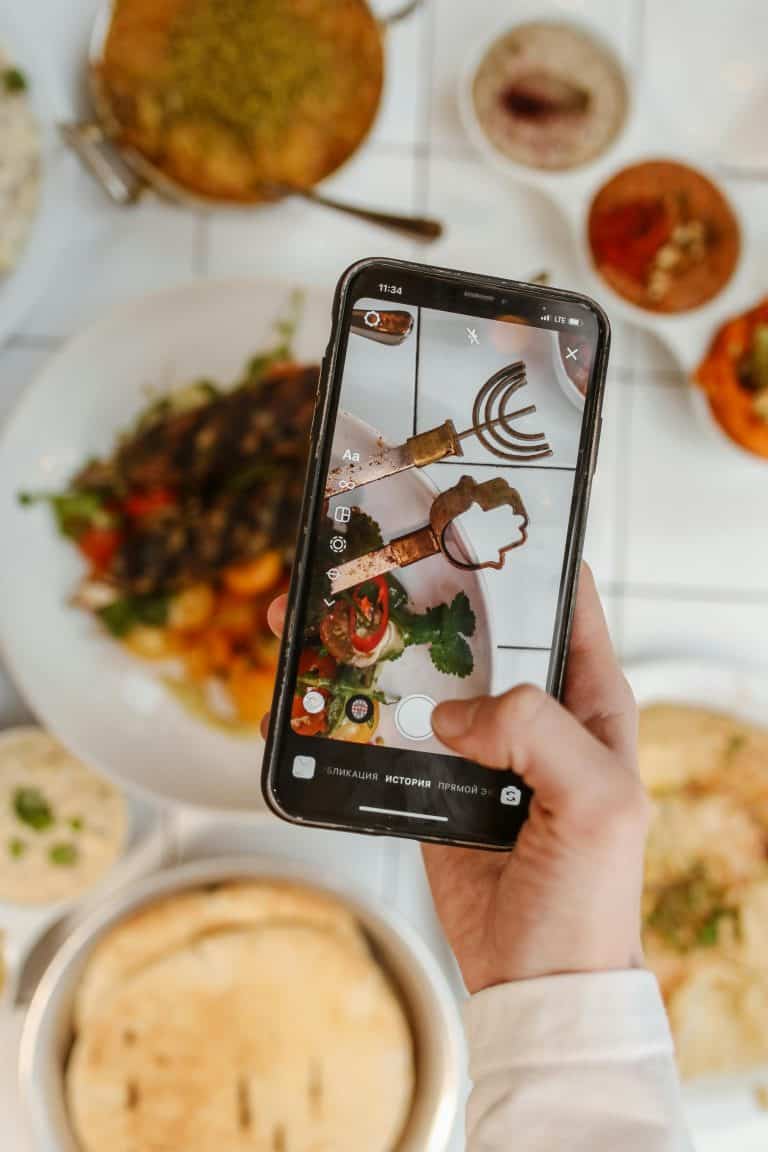
My kitchen isn’t Instagram-worthy. It’s a regular kitchen with practical tools that work. And that’s exactly what makes clean eating sustainable for me.
Maintaining Your Tools
Good tools last when you take care of them. Here’s my simple maintenance routine:
Knives: I sharpen mine professionally once per year. Between sharpenings, I use a honing steel once a week. Never put them in the dishwasher.
Cutting boards: Wash after each use. Wooden boards get occasional mineral oil treatment. Plastic ones are dishwasher safe.
Glass containers: Dishwasher safe, but I hand-wash the lids to make the seals last longer.
Blender: Rinse immediately after use. For deep cleaning, blend warm water with a drop of dish soap, then rinse.
Cast iron: Wash by hand, dry completely, and add a thin layer of oil. It sounds fussy, but it takes 30 seconds.
Sheet pans: Line with parchment paper to prevent staining. If they get sticky, make a paste with baking soda and scrub.
Taking care of your tools means they’ll still be working years from now.
Conclusion
Building a clean eating kitchen doesn’t happen overnight, and it doesn’t require a huge investment. Start with the basics—a good knife, a cutting board, some storage containers, and a skillet. You can cook healthy meals with just those four tools.
Then add what makes sense for your cooking style. Maybe you love smoothies and need a blender first. Maybe sheet pan dinners are your thing, and you want pans right away. Follow your actual needs, not some idealized kitchen vision.
I promise, having tools that work makes clean eating so much easier. You’ll prep faster, waste less food, and actually enjoy cooking instead of dreading it.
You don’t need a perfect kitchen. You need one that works for you.